Want to make a bootable macOS USB from your PC, No problem! This guide shows you how to create a bootable macOS USB installer using a Windows 10/ 11 computer.
Prerequisites
1. USB Drive (8GB or Larger)
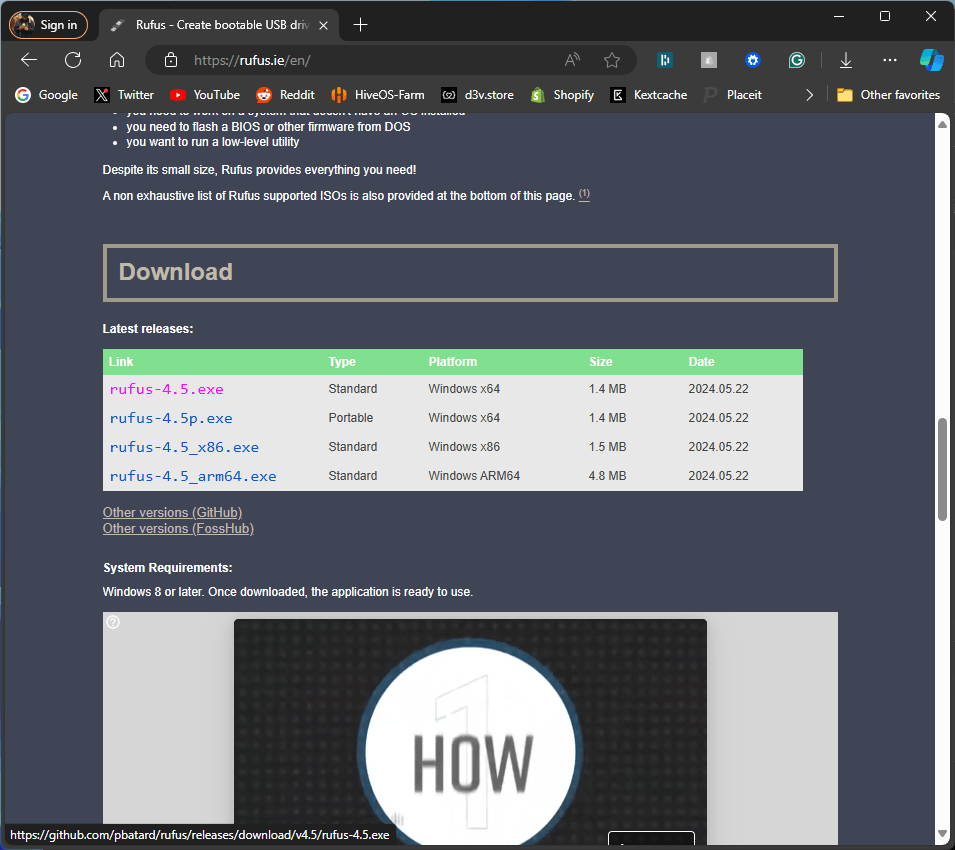
For USB drives 16GB or smaller, formatting with FAT32 is straightforward. If you’re using a larger USB drive, tools like Rufus are recommended to ensure proper formatting and compatibility. Download Rufus from here.
2. macrecovery.py
A convenient Python script that simplifies the macOS recovery process. Ensure that Python 3 is installed on your system before running it. You can download Python from here.
To retrieve macOS installer files, open a Command Prompt in the macrecovery directory and run the appropriate script:
Example Commands for Different macOS Versions:
- macOS Ventura 13
python3 macrecovery.py -b Mac-4B682C642B45593E -m 00000000000000000 download - macOS Sonoma 14
python3 macrecovery.py -b Mac-937A206F2EE63C01 -m 00000000000000000 download - macOS Sequoia 15
python3 ./macrecovery.py -b Mac-937A206F2EE63C01 -m 00000000000000000 download
For more macOS versions, refer to our detailed guide.
3. OpenCorePkg
This package is essential for setting up macOS on non-Apple hardware. We’ll use it to download and configure the macOS installer files needed for a successful Hackintosh build. You can get the latest OpenCorePkg from here.
Steps to Extract OpenCore and Run macrecovery:
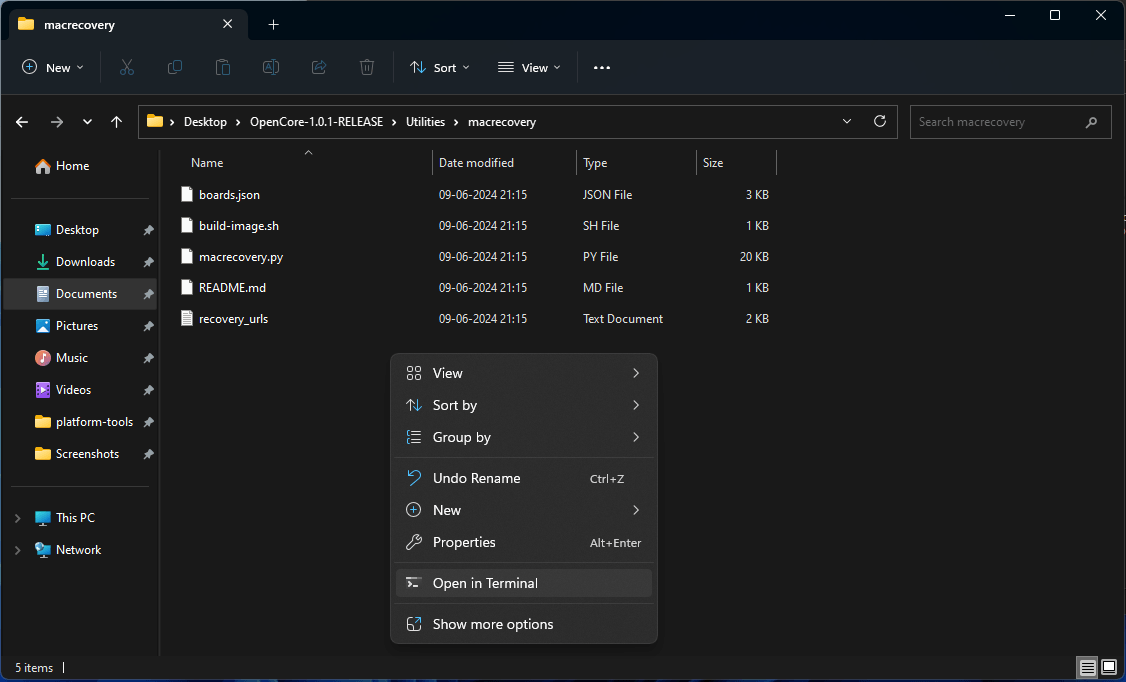
Open Command Prompt in this directory and run the required macrecovery script as shown above.
Download OpenCorePkg from the official OpenCore release page.
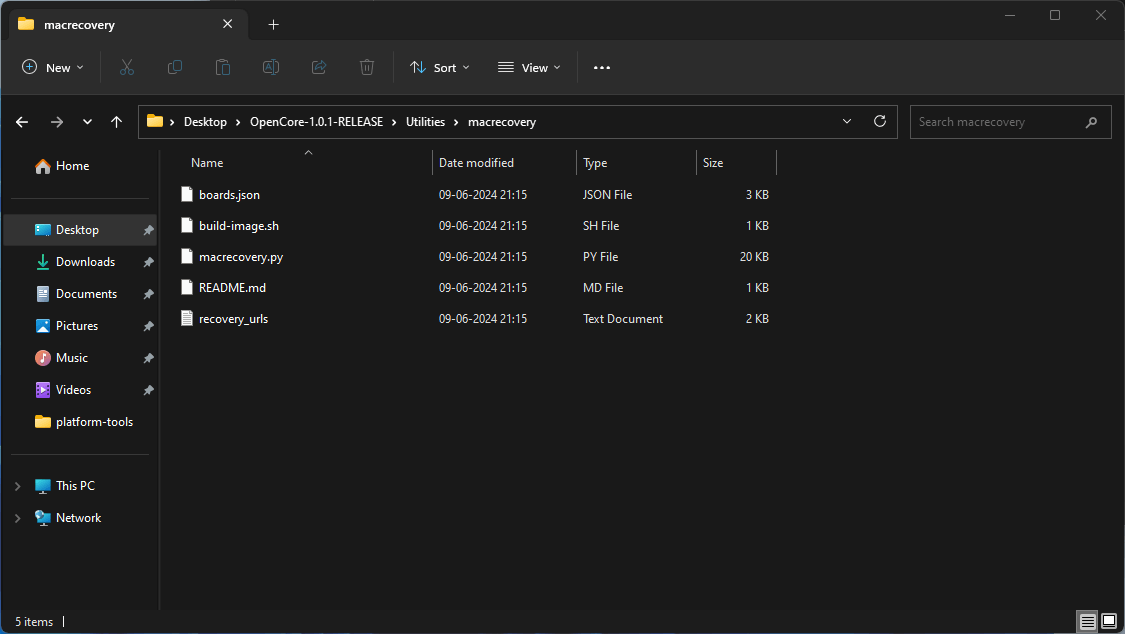
Extract the ZIP file and navigate to Utilities/macrecovery/.
Step 1: Get the macOS Installer Files
- Download OpenCorePkg from the official source. We are currently using a nightly build for Opencore 1.0.1
- Extract it and Navigate to the
/Utilities/macrecovery/folder.
- Right-click inside the folder and click on (type “cmd” in the address bar).

Run One of the following scripts for the macOS you wanted to download for your bootable media.
For OS X Lion 10.7python3 macrecovery.py -b Mac-2E6FAB96566FE58C -m 00000000000F25Y00 downloadpython3 macrecovery.py -b Mac-C3EC7CD22292981F -m 00000000000F0HM00 download
For OS X Lion 10.8python3 macrecovery.py -b Mac-7DF2A3B5E5D671ED -m 00000000000F65100 download
for OS X Mavericks 10.9python3 macrecovery.py -b Mac-F60DEB81FF30ACF6 -m 00000000000FNN100 download
for OS X Yosemite 10.10python3 macrecovery.py -b Mac-E43C1C25D4880AD6 -m 00000000000GDVW00 download
for OS X El Capitan 10.11python3 macrecovery.py -b Mac-FFE5EF870D7BA81A -m 00000000000GQRX00 download
for macOS Sierra 10.12python3 macrecovery.py -b Mac-77F17D7DA9285301 -m 00000000000J0DX00 download
for macOS High Sierra 10.13python3 macrecovery.py -b Mac-7BA5B2D9E42DDD94 -m 00000000000J80300 download
python3 macrecovery.py -b Mac-BE088AF8C5EB4FA2 -m 00000000000J80300 download
for macOS Mojave 10.14python3 macrecovery.py -b Mac-7BA5B2DFE22DDD8C -m 00000000000KXPG00 download
for macOS Catalina 10.15python3 macrecovery.py -b Mac-00BE6ED71E35EB86 -m 00000000000000000 download
for macOS Big Sur 11python3 macrecovery.py -b Mac-42FD25EABCABB274 -m 00000000000000000 download
for macOS Monterey 12python3 macrecovery.py -b Mac-FFE5EF870D7BA81A -m 00000000000000000 download
for macOS Ventura 13python3 macrecovery.py -b Mac-4B682C642B45593E -m 00000000000000000 download
for macOS Sonoma 14python3 macrecovery.py -b Mac-937A206F2EE63C01 -m 00000000000000000 download
macOS Sequoia 15python3 ./macrecovery.py -b Mac-937A206F2EE63C01 -m 00000000000000000 download
NOTE: If you are making a bootable USB for Hackintosh, make sure to map your USB first before installing macOS on your system.
Downloading macOS for our bootable USB:
In our case, we’ll be downloading macOS 14 Sonoma for our system.
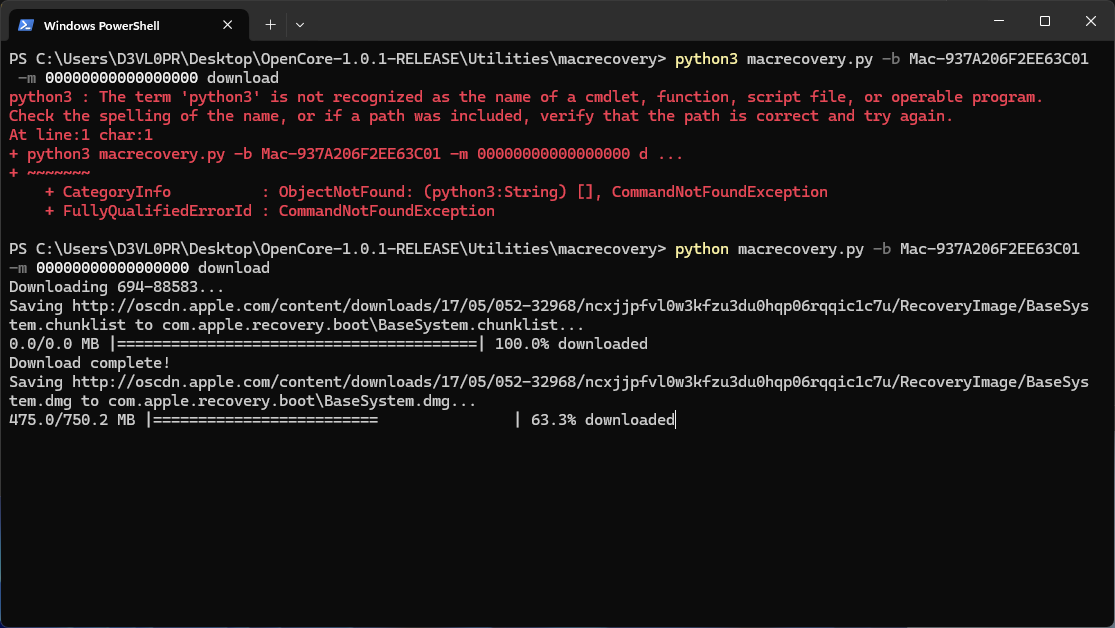
- Copy and Paste the command from above and paste it on Terminal. ( If you for App Execution Error follow these steps)
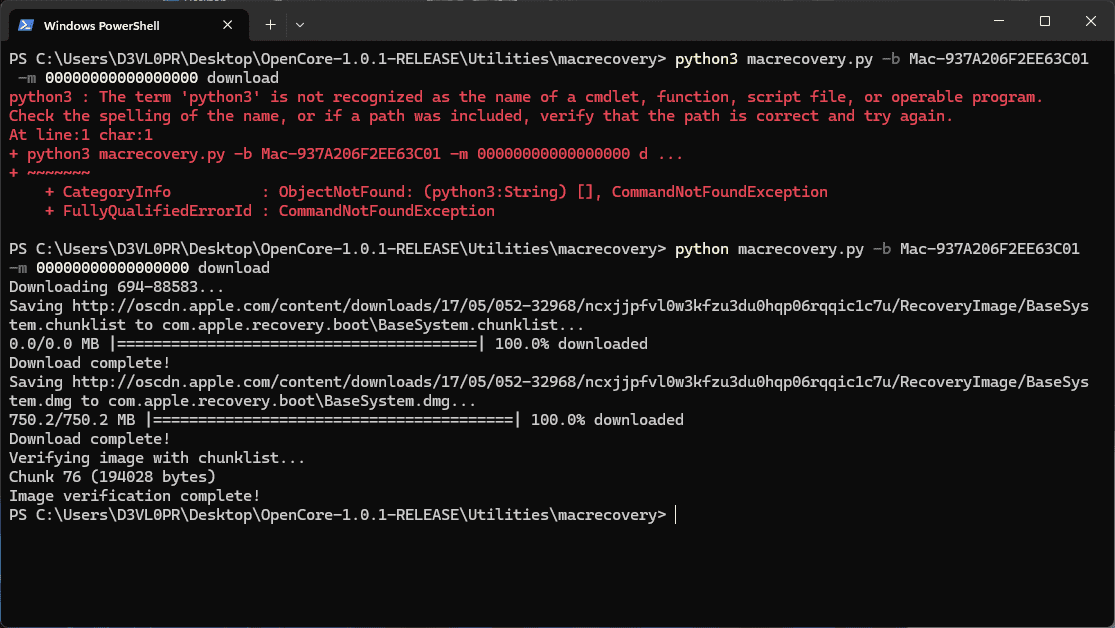
- The script will now start downloading bootable recovery installation media. (remove the 3 from python3 command if you get error like this)

Let it Complete.
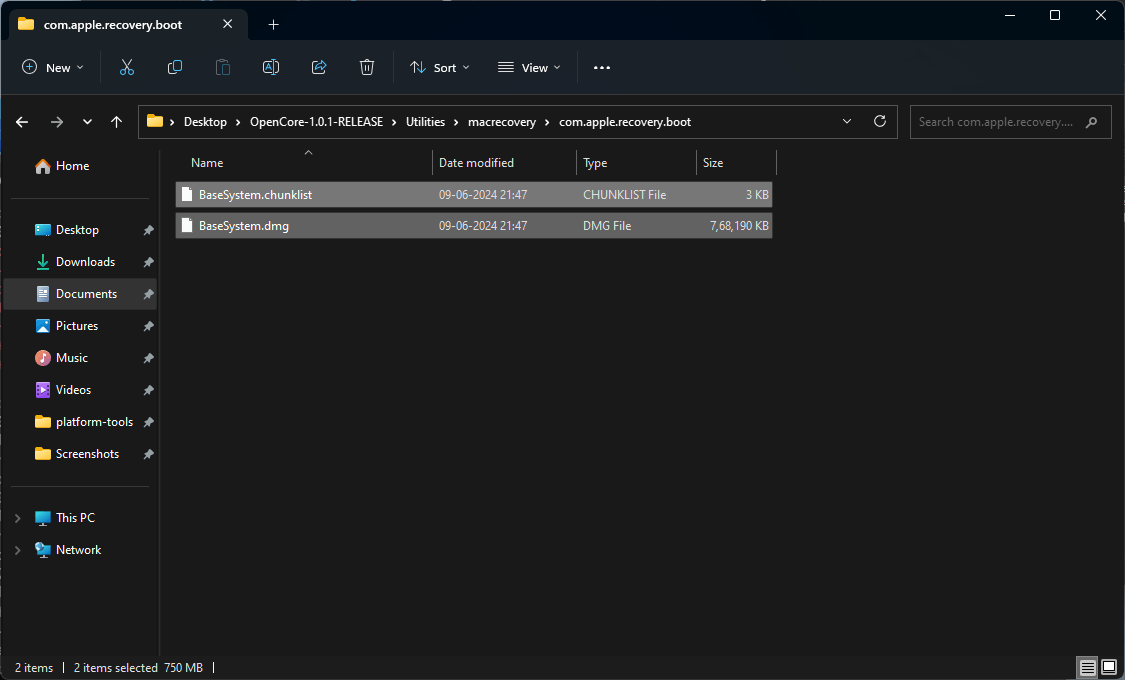
- Check the macrecovery folder, a new folder with
name com.apple.recovery.bootwill appear and inside there will be downloaded recovery files.
Installing macOS on our bootable USB:
- Download and open Rufus.

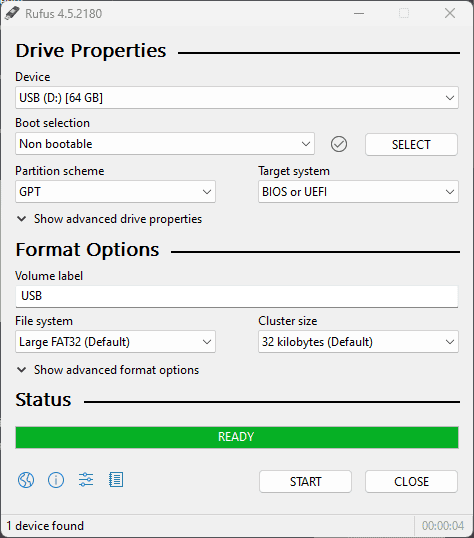
- Plug Your USB and Open Rufus.

- Set Boot Selection as NOT BOOTABLE,
File System as Large FAT32 (For USB over 32GB)
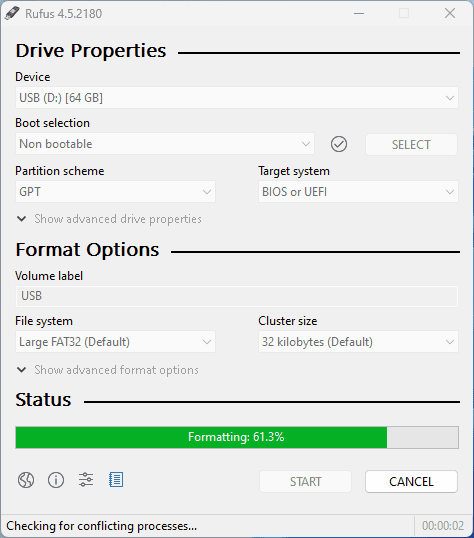
Click START
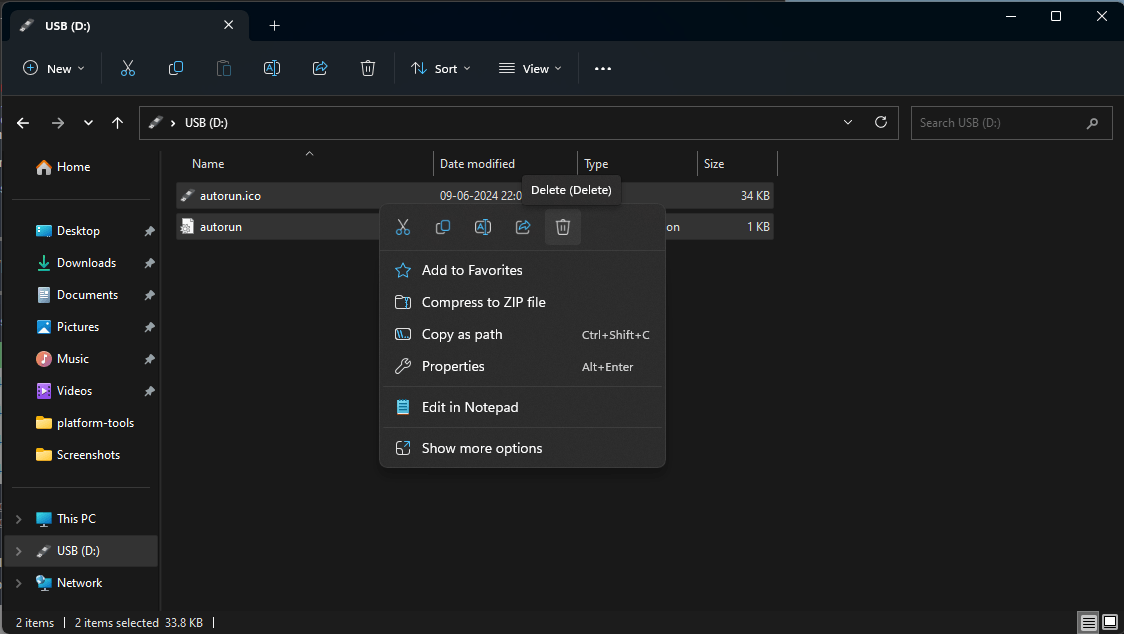
- Open the Drive and Delete Both
autorun.icoandautorunfile.
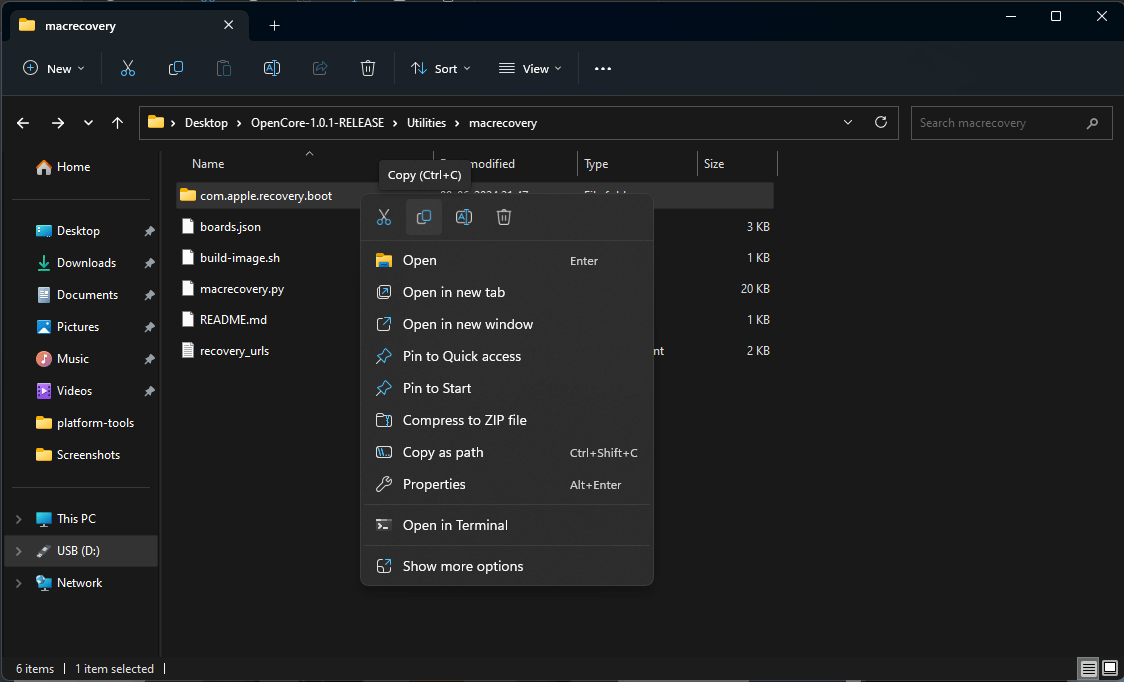
- now go back to the macrecovery folder and copy the folder
com.apple.recovery.bootwe just downloaded.
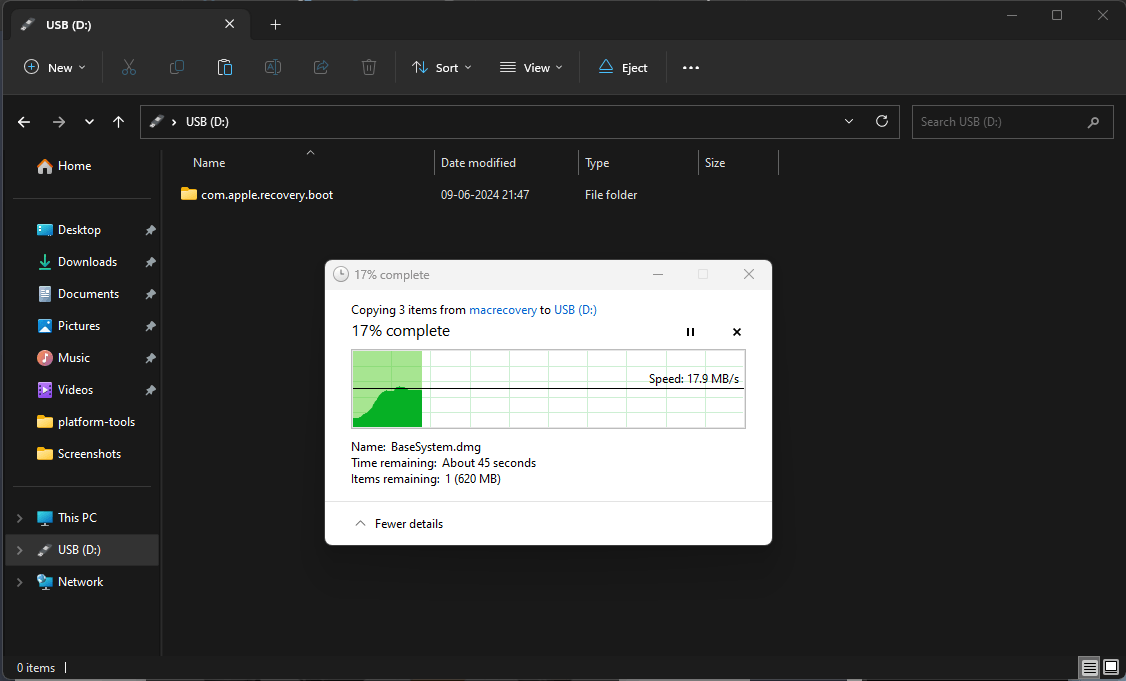
- Paste the folder into the USB Drive.

now your macOS bootable media is ready.
If you’re building a Hackintosh, you’ll need to configure your EFI (Extensible Firmware Interface) folder using OpenCore or Clover. This folder contains essential configuration files for your specific hardware. Once configured, copy and paste the EFI folder into the root directory of your bootable USB drive to ensure a successful boot.
Need help with EFI configuration? Check out the OpenCore or Clover guides for detailed instructions and support resources.
