The AI revolution is here, but it’s largely happening on someone else’s computer. Every time you chat with a commercial AI like ChatGPT or Claude, you’re sending your data to a corporate server, subject to their terms of service, potential data breaches, and the ever-present risk of censorship. But what if you could have all the power of a state-of-the-art language model, running on your own hardware, completely under your control?
Welcome to Project “Home Brain”. This is the definitive guide to taking back control.
This guide will walk you through the entire process of self-hosting your own private, uncensored alternative to ChatGPT. We’ll be using the user-friendly CasaOS to simplify server management, and I’ll break down everything you need to know, from the hardware you’ll need to the open-source models that will power your personal AI.
Why Self-Host Your Own AI? The Case for a “Home Brain”
Before we dive into the technical details, let’s expand on the “why.” Why go to the trouble of setting up your own AI when commercial services are just a click away? The answer comes down to three key principles at the heart of the kextcache philosophy: privacy, control, and freedom.
- Unyielding Privacy: When you use a commercial AI, your conversations—your ideas, questions, and even your mistakes—become training data. You are, in effect, helping these companies build a more powerful product while sacrificing your own privacy. Self-hosting completely severs this connection. Your data never leaves your local network. It’s the digital equivalent of having a thought in your own mind versus speaking it into a corporate microphone.
- Absolute Control: A self-hosted AI is your AI. You decide which model to run, how to configure it, and what its personality should be. More importantly, you can venture into advanced territory like fine-tuning, where you can train a model on your own data (emails, documents, notes) to create a truly personalized assistant that understands your context. This level of customization is impossible with closed-source, commercial offerings.
- Complete Freedom from Censorship: Commercial AI models are often heavily filtered. They might refuse to discuss sensitive topics, generate certain types of creative content, or answer questions that the parent company deems inappropriate. A self-hosted, open-source model has no such masters. You are free to explore any topic, ask any question, and generate any kind of content, without fear of being stonewalled by an invisible censor.
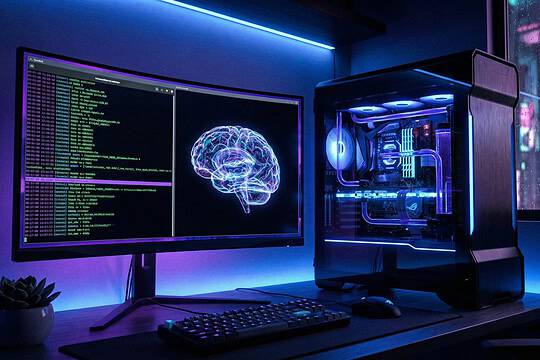
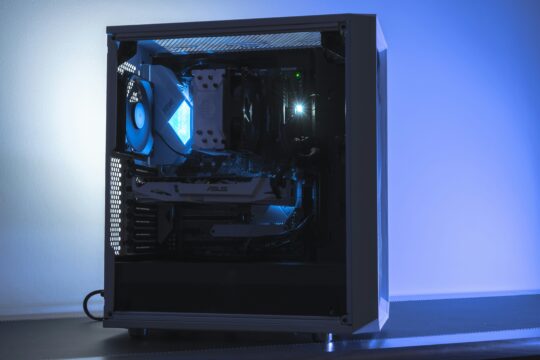
The Hardware: Building Your Home Brain’s Body
Running a large language model (LLM) locally is computationally intensive. Your hardware choices will directly impact performance. Let’s break down the requirements.
- CPU and RAM: A modern multi-core CPU (like an Intel Core i5/i7 or AMD Ryzen 5/7 from the last few years) is recommended. RAM is critical.
- Budget (7B models): 16GB of RAM is a good starting point.
- Mid-Range (13B+ models): 32GB of RAM is strongly recommended for a smoother experience.
- High-End (Large models/Fine-tuning): 64GB of RAM or more will give you the flexibility to run larger models and experiment with training.
- The All-Important GPU: While you can run some models on a CPU, a dedicated GPU is the single most important component for acceptable performance. The key metric here is VRAM (Video RAM), as the model’s layers are loaded directly into it.
- Entry-Level (Good for 7B models): NVIDIA GeForce RTX 3060 (12GB version is crucial), RTX 4060 (8GB).
- Mid-Range (Comfortable with 13B models): NVIDIA GeForce RTX 3080 (12GB), RTX 4070 (12GB).
- High-End (For 70B+ models and experimenting): NVIDIA GeForce RTX 3090 (24GB), RTX 4090 (24GB). NVIDIA GPUs currently have the best software support in the open-source AI space thanks to CUDA technology.
- Storage: Models can be several gigabytes in size. A fast NVMe SSD (at least 512GB) will significantly reduce model loading times compared to a traditional HDD or SATA SSD.
The Software: The Mind of Your Home Brain
This is where the magic happens. We’ll use a combination of user-friendly and powerful tools to bring our Home Brain to life.
- CasaOS: Think of CasaOS as a beautiful, simplified dashboard for your home server. It’s built on top of a stable Linux foundation (usually Debian) and provides a point-and-click interface for installing and managing applications via its App Store. It’s perfect for those who want the power of a home server without living in the command line.
- Ollama: This is the engine of our project. Ollama is a brilliant tool that streamlines the process of downloading, managing, and running open-source LLMs. It packages models and their configurations together and exposes them through a simple local API that other applications can connect to.
- Open WebUI (and other interfaces): While Ollama runs the models, you need a chat interface to interact with them. Open WebUI is a popular choice available on the CasaOS App Store. It’s a polished, feature-rich interface that feels very similar to ChatGPT, but it’s configured to talk to your local Ollama instance.
Choosing the Right Model for You
The beauty of self-hosting is choice. Here are a few popular models to start with:
| Model | Size (Parameters) | VRAM Needed (Approx.) | Best For |
|---|---|---|---|
| Meta Llama 3 | 8B | 8-10 GB | Excellent all-around performance for general chat and instruction-following. |
| Mistral | 7B | 6-8 GB | Highly efficient and powerful for its size. Great for systems with less VRAM. |
| Code Llama | 7B / 13B | 8-16 GB | Specialized for code generation, explanation, and debugging. A must-have for developers. |
| Phi-3 Mini | 3.8B | 4-6 GB | A surprisingly capable small model, perfect for resource-constrained systems like a Raspberry Pi 5. |
You can find and explore thousands of other models on Hugging Face, the central repository for the open-source AI community.
The Step-by-Step Guide to Building Your Home Brain
Ready to begin? Follow these steps carefully.
Step 1: Install CasaOS
First, get the foundation laid. The easiest way is to install a base Linux OS like Debian or Ubuntu Server on your hardware, then install CasaOS on top of it.
- Install your chosen Linux distribution.
- Once installed and connected to the internet, open a terminal and run the official CasaOS installation script:
curl -fsSL [https://get.casaos.io](https://get.casaos.io) | sudo bash - Let the script run. Once it’s finished, you can access the CasaOS dashboard by navigating to your server’s IP address in a web browser.
Step 2: Install Open WebUI
Now, let’s get our chat interface.
- From the CasaOS dashboard, click on the “App Store”.
- Use the search bar to find “Open WebUI”.
- Click “Install”. CasaOS will handle the entire process of downloading and setting up the application container.
Step 3: Install Ollama
This part requires a quick trip to the command line, but it’s a simple copy-and-paste.
- You can open a terminal directly from the CasaOS UI by clicking the terminal icon in the top right corner.
- Run the Ollama installation script:
curl -fsSL [https://ollama.com/install.sh](https://ollama.com/install.sh) | sh
This will install the Ollama service on your server. It will run in the background, waiting for requests.
Step 4: Download Your First AI Model
Still in the terminal, let’s download our first “brain”. We’ll start with Llama 3’s 8B model.
ollama run llama3:8bThe first time you run this command, it will download the model file (which can be 5GB+). Subsequent runs will load the model instantly. Once downloaded, you’ll be able to chat with it directly in the terminal. Type /bye to exit.
Step 5: Connect Open WebUI to Ollama
Now we connect the interface to the engine.
- Open the Open WebUI app from your CasaOS dashboard.
- Create your local admin account.
- Click the settings icon (usually a gear or your profile picture) and go to “Connections”.
- The default Ollama API URL should be pre-filled:
http://host.docker.internal:11434. This special URL allows the Open WebUI container to talk to the Ollama service running on the main CasaOS system. - Save the settings.
Step 6: Have Your First Private AI Conversation
Back on the main Open WebUI screen, you should see “Llama 3” (or whatever model you downloaded) available in a dropdown menu. Select it, type your first message, and hit enter.
Congratulations! You are now having a conversation with an AI running entirely on your own hardware. Your words are not being logged, stored, or analyzed by any third party. This is your Home Brain.
Beyond the Basics: What’s Next?
Once you’re comfortable, you can explore more advanced topics:
- Retrieval-Augmented Generation (RAG): Use tools to connect your LLM to your personal documents, allowing you to “chat” with your PDFs, notes, and other files.
- Secure Remote Access: Use a tool like Tailscale (available in the CasaOS App Store) to securely access your Home Brain from anywhere in the world, without exposing it to the public internet.
Project “Home Brain” is more than just a technical exercise; it’s a declaration of digital independence. Welcome to the future of personal AI.