Introduction
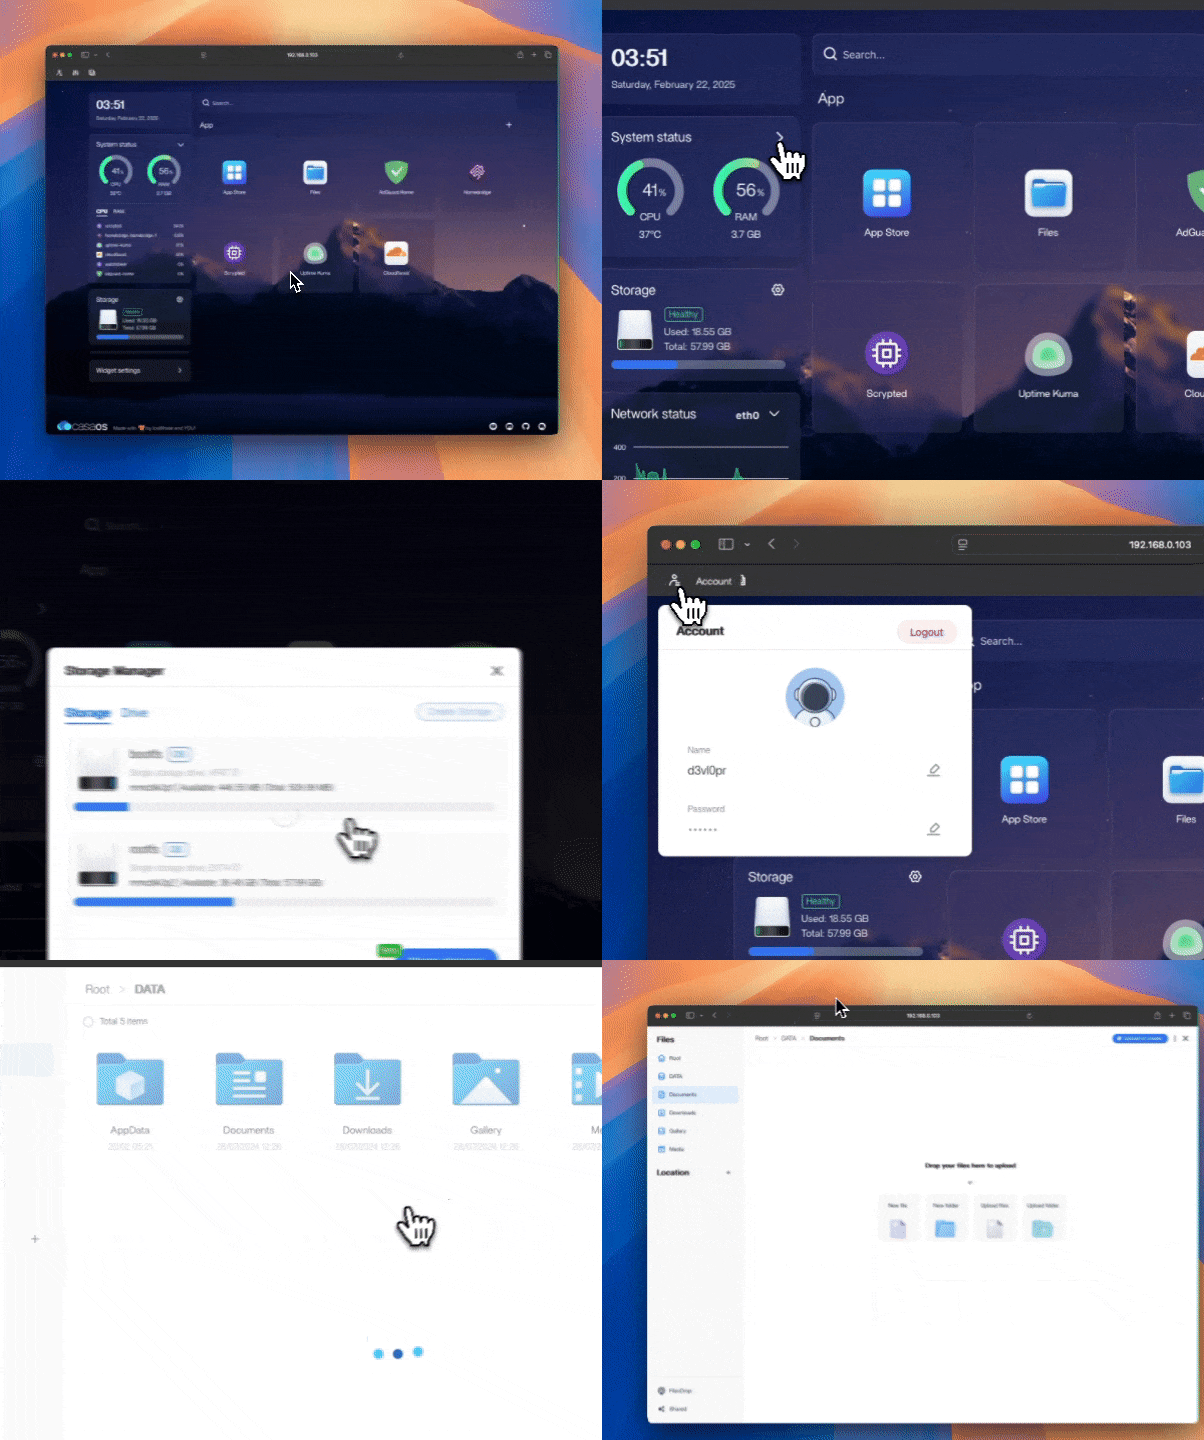
The Raspberry Pi 5 is a powerful upgrade from its predecessor, making it an excellent choice for a home server. CasaOS is an open-source, lightweight home cloud system that lets you manage self-hosted apps like Plex, Home Assistant, Nextcloud, and Jellyfin effortlessly.
In this guide, we’ll walk you through the installation, setup, remote access, and best practices for running CasaOS on a Raspberry Pi 5.
Why Use CasaOS on Raspberry Pi 5?
- User-Friendly Dashboard – Manage apps with a modern UI.
- Docker-Powered – Supports containerized applications.
- Minimal System Requirements – Runs efficiently on ARM devices like Raspberry Pi 5.
- Free & Open-Source – No licensing fees or hidden costs.

1. What You’ll Need
Before installing CasaOS, make sure you have the following:
| Requirement | Recommended Specs |
|---|---|
| Raspberry Pi | Raspberry Pi 5 (4GB or 8GB RAM) |
| MicroSD Card | 32GB+ (Class 10) or SSD for better performance |
| Power Supply | 5V 5A USB-C Adapter |
| Operating System | Raspberry Pi OS Lite (64-bit) |
| Internet Connection | Wired (recommended) or Wi-Fi |
| SSH Client | PuTTY (Windows) or Terminal (Mac/Linux) |
2. Installing Raspberry Pi OS
CasaOS requires a 64-bit OS for optimal performance.
Step 1: Download Raspberry Pi OS Lite (64-bit)
- Visit the official Raspberry Pi OS download page.
- Download Raspberry Pi OS Lite (64-bit) (Debian-based).
Step 2: Flash the OS to MicroSD/SSD
Use Raspberry Pi Imager or Balena Etcher:
- Insert your microSD card into your computer.
- Open Raspberry Pi Imager and select:
- OS: Raspberry Pi OS Lite (64-bit)
- Storage: Your microSD/SSD
- Advanced Settings: Enable SSH, set username/password, and configure Wi-Fi (if needed).
- Click Write and wait for the process to finish.
Step 3: Boot Up Raspberry Pi
- Insert the microSD card (or SSD) into the Raspberry Pi 5.
- Power it on and connect via SSH:
ssh pi@your-pi-ip-address - Update the system:
sudo apt update && sudo apt upgrade -y
3. Installing CasaOS on Raspberry Pi 5
CasaOS has a simple one-line installation script.
Step 1: Run the CasaOS Installation Command
Enter the following command in the terminal:
curl -fsSL https://get.casaos.io | bashStep 2: Wait for the Installation to Complete
The script will:
✅ Download required dependencies
✅ Install Docker & CasaOS
✅ Set up the CasaOS web interface
Step 3: Access the CasaOS Web Interface
Once the installation is complete, access CasaOS via a browser:
http://your-pi-ip-address:portLog in with the default credentials or create a new account.
You can change the port later by following the guide below.
4. Configuring CasaOS

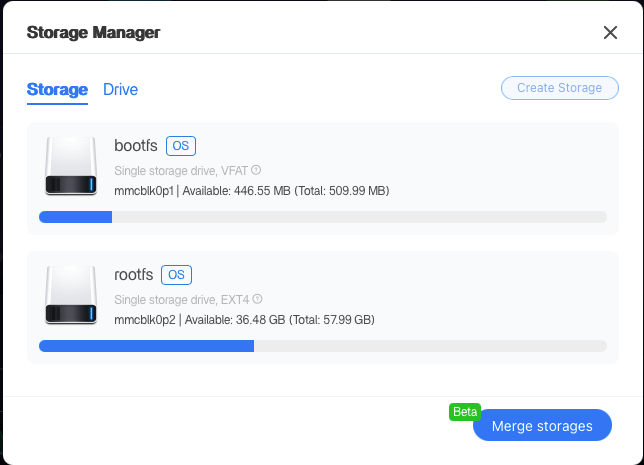
Setting Up Storage
- Go to Settings > Storage Management.
- Add external drives or SSDs for better performance.
Installing Apps
CasaOS has a built-in App Store for installing self-hosted apps. Popular apps include:
- Plex – Stream movies and shows.
- Home Assistant – Smart home automation.
- Nextcloud – Personal cloud storage.
- qBittorrent – Download torrents.
Adding Docker Containers Manually
If an app isn’t in the CasaOS store, you can add it via Docker:
- Open Terminal in CasaOS.
- Run a Docker command, e.g., for Nginx Proxy Manager:
docker run -d --name=nginx-proxy-manager -p 80:80 -p 443:443 -p 81:81 jc21/nginx-proxy-manager
5. Setting Up Remote Access
To access CasaOS securely from outside your local network, use Cloudflare Tunnel or Tailscale.
Option 1: Remote Access via Cloudflare Tunnel
- Install Cloudflare Tunnel:
curl -fsSL https://github.com/cloudflare/cloudflared/releases/latest/download/cloudflared-linux-arm64 -o cloudflared chmod +x cloudflared sudo mv cloudflared /usr/local/bin/ - Authenticate with Cloudflare:
cloudflared login - Create a tunnel and point it to CasaOS:
cloudflared tunnel create casaos cloudflared tunnel route dns casaos.yourdomain.com cloudflared tunnel run casaos
Option 2: Remote Access via Tailscale
- Install Tailscale:
curl -fsSL https://tailscale.com/install.sh | sh - Authenticate and enable the service:
sudo tailscale up --authkey=your-auth-key - Access CasaOS securely using the Tailscale-assigned IP.
6. Performance Optimization
Enable Hardware Acceleration
For better video streaming and container performance, enable hardware acceleration:
sudo apt install -y libva-drm2 libva-x11-2 vdpau-driver-allUse an SSD Instead of a MicroSD
For faster speeds, migrate your system to an SSD:
sudo rpi-clone -u /dev/sdaSet Up Automatic Updates
To keep CasaOS and Raspberry Pi secure, enable auto-updates:
sudo apt install unattended-upgrades -y7. FAQs
Can I install CasaOS on Raspberry Pi 4?
Yes, CasaOS runs on Raspberry Pi 4, but Raspberry Pi 5 offers better performance.
How do I reset CasaOS?
Run the reset command: curl -fsSL https://get.casaos.io | bash -s — –reset
Does CasaOS support external storage?
Yes, you can mount USB drives and SSDs via Settings > Storage Management.
Conclusion
Setting up CasaOS on Raspberry Pi 5 transforms your device into a powerful home cloud. Whether you’re hosting a media server, managing smart home devices, or running self-hosted apps, CasaOS simplifies everything.
🚀 What’s next? Start installing apps, optimize your setup, and unlock the full potential of your Raspberry Pi 5!
Recommended Reads
🔗 Best Linux Home Server Software
🔗 Why Servers are Important in 2025?
💬 Got questions? Drop a comment below!
📧 Want more guides? Subscribe to our newsletter.
🛒 Looking for accessories? Check recommended Raspberry Pi gear on Amazon (Affiliate Link)


