In this guide, We’ll cover how to do USB Mapping on Windows with the help of a tool called USBToolBox by @dhinakg which is inspired by another cool tool called USBMap by @corpnewt. Both are in the active development phase, We prefer this tool over other methods because it can run on Windows either 10 or 11 (but it has to be 64-bit) which means we can do all this stuff way before getting our hands dirty with Opencore configuration and also before Installing Hackintosh.
Required Tools and Prerequisites:
- Windows Installed or Bootable Windows PE Ready
- Internet Connection
- Patience
- USB Flash Drive
Importance Of USB Mapping:
USB Mapping on the Hackintosh is one of the most important stepping-stones while building it, without proper USB Mapping Hackintosh will not be able to properly see the USB Ports on your custom built mac because of several reasons:
- There is 15 USB ports limit on the Mac that Apple produces and most of the Motherboard we use to build Hackintosh have over 18 Ports.
- Hackintosh will not be able to see/distinguish between USB 2/ USB 3/ Type-C Ports and give you Instability.
- Proper power management for the USB Ports as different USB Protocols use different power profiles. for example, some device like USB 3 Portable HDD requires more power than a Mouse that uses USB 2.
- Removes the need for controller renames in ACPI Patches (Opencore Config)
- Doesn’t hardcode any port maps, unlike USBInjectAll kext.
- Override any built-in Apple USB maps attached based on SMBIOS and controller names.
Let’s Start USB Mapping for Our System:
- Bootup your Windows (in this guide we’ll be using Windows 11 23H2) or if you don’t have Windows installed quickly flash Hiren’s BootCD PE on your Flash Drive.
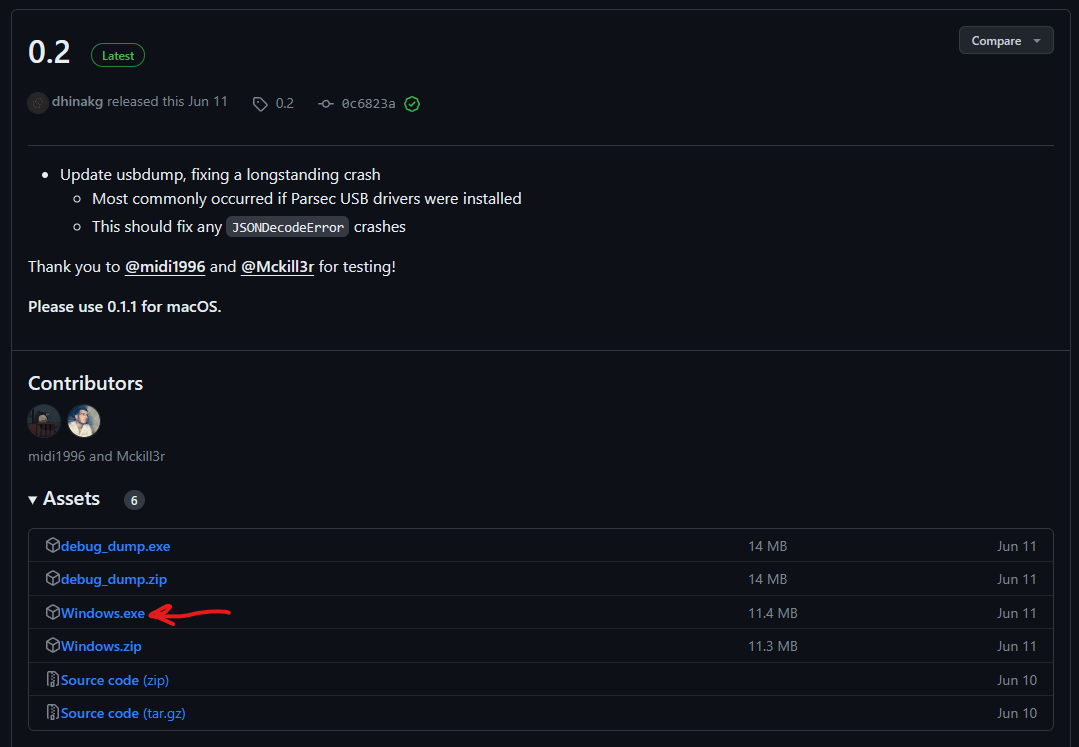
- Open the USBToolBox GitHub Page, Navigate to releases 0.2 then Download the Windows.exe file.

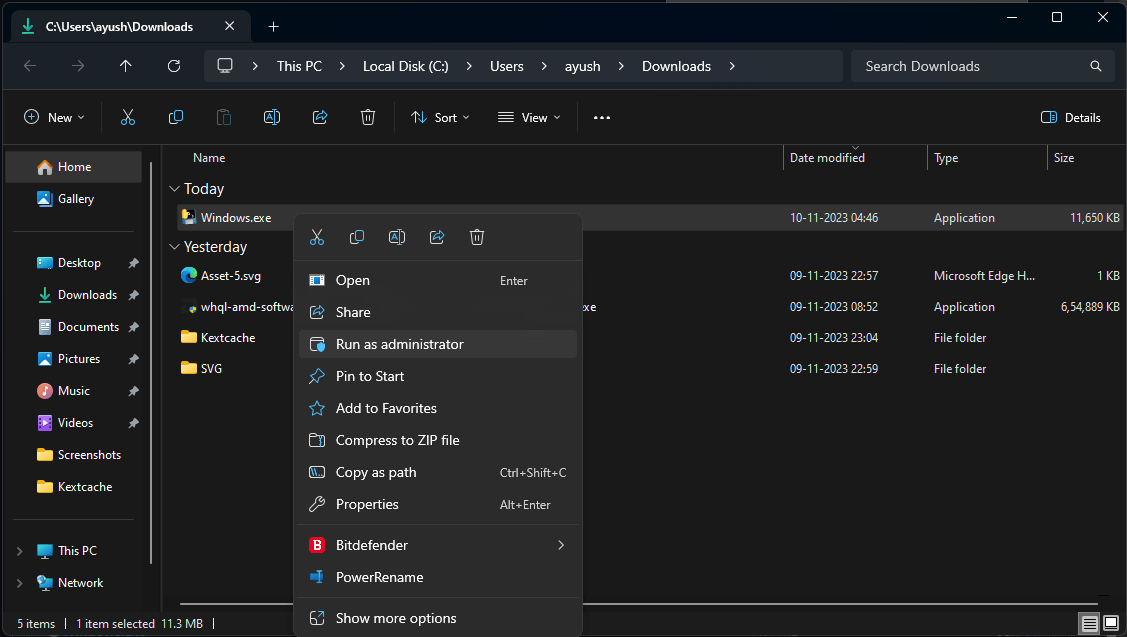
- Navigate to the Windows.exe file and Run as Administrator.

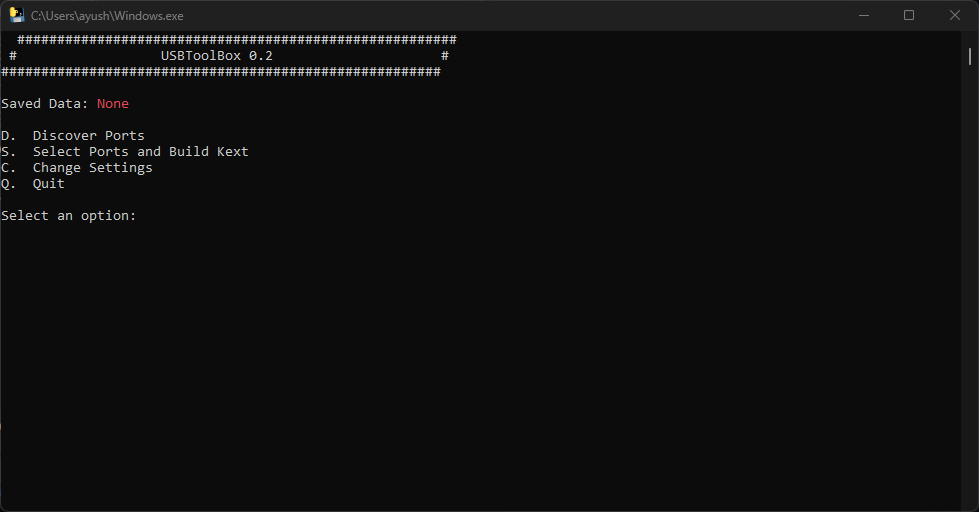
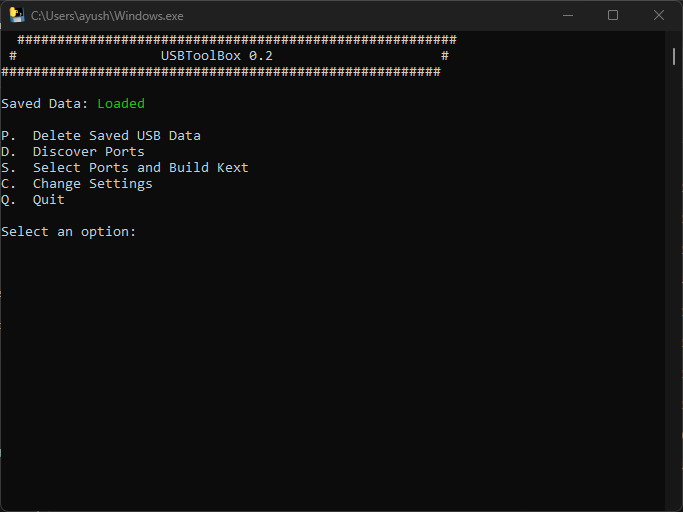
- You’ll be greeted by Terminal with a screen like this on successful execution of the file, if it’s not opening Disable Antivirus / Windows Defender/ Anti Malware as they flag the script as Malware.

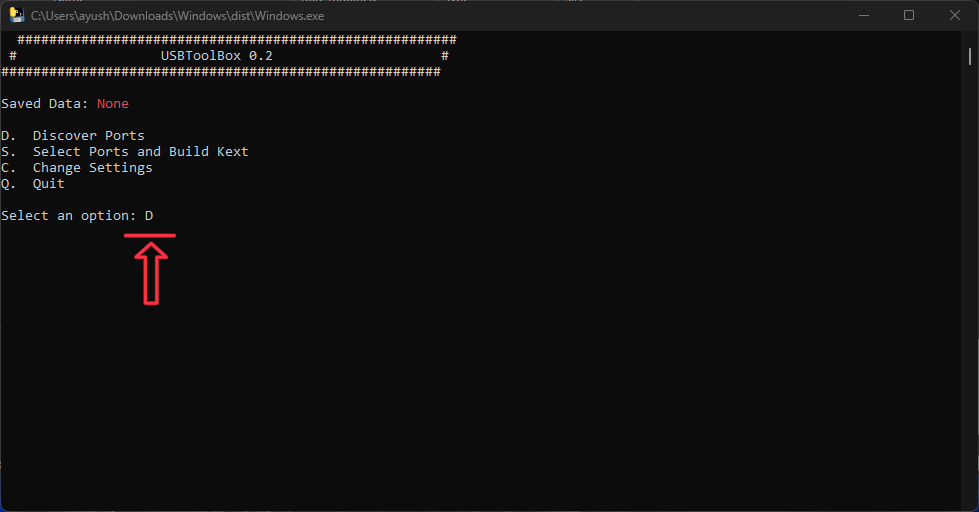
- Now Press ” D “ & Enter to Discover the USB Ports from your Motherboard.
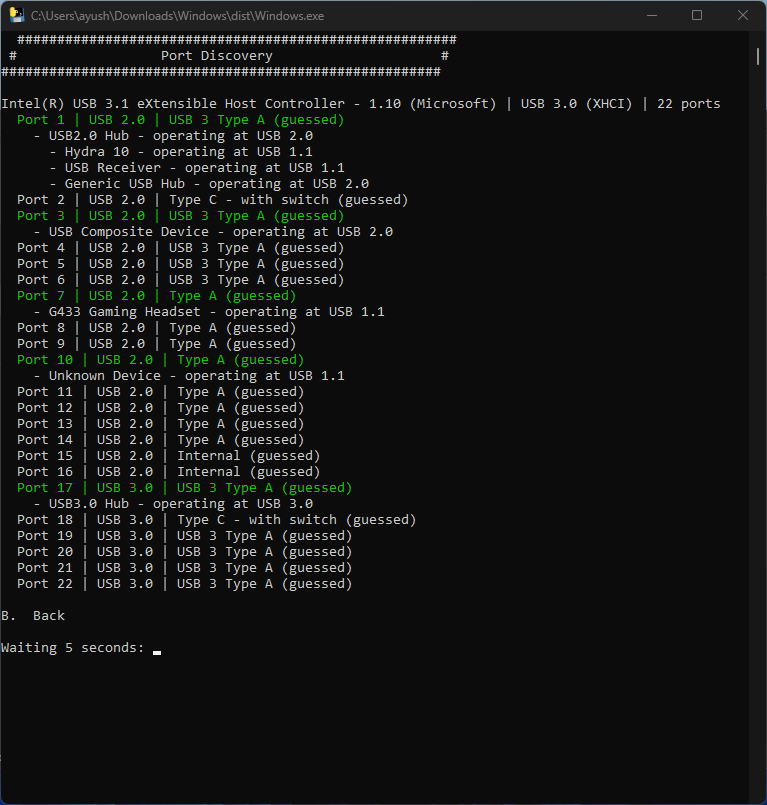
- You’ll be greeted by another screen refreshing every 5 seconds to get new USB Info.

- Grab a USB 3.0 Flash Drive & start plugging into every USB port of your System.
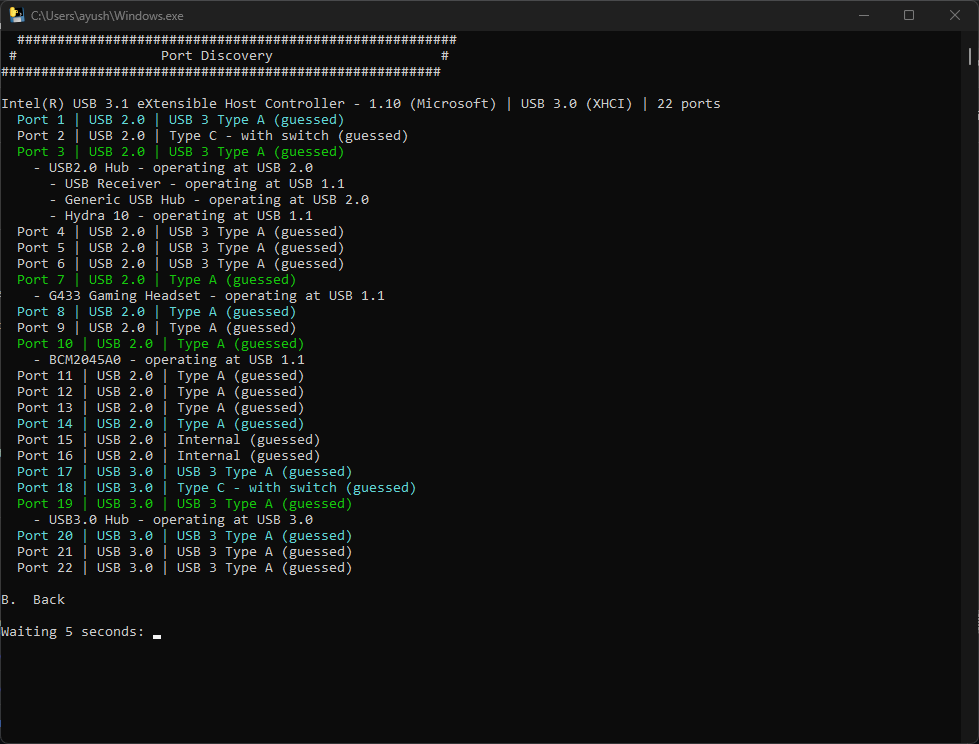
Plug into 1 USB Port – Pull out the USB Flash Drive and Plug into Other, after unplugging you’ll see slightly dim-colored text in the terminal (this means the application detected it). after doing plug-unplug USB ritual you’ll see a screen something like this.
The application will automatically detect both USB 2.0 & 3.0 if you plug the USB 3.0 Flash Drive into the USB 3.0 USB Port.
- Now go back by typing ” B ” and then enter to go to the main screen.
You’ll see Saved Data: Loaded, this means the application successfully grabbed all the USB Info.
- Now Go to Select Ports and Build Kext by pressing ” S ” and then Enter.
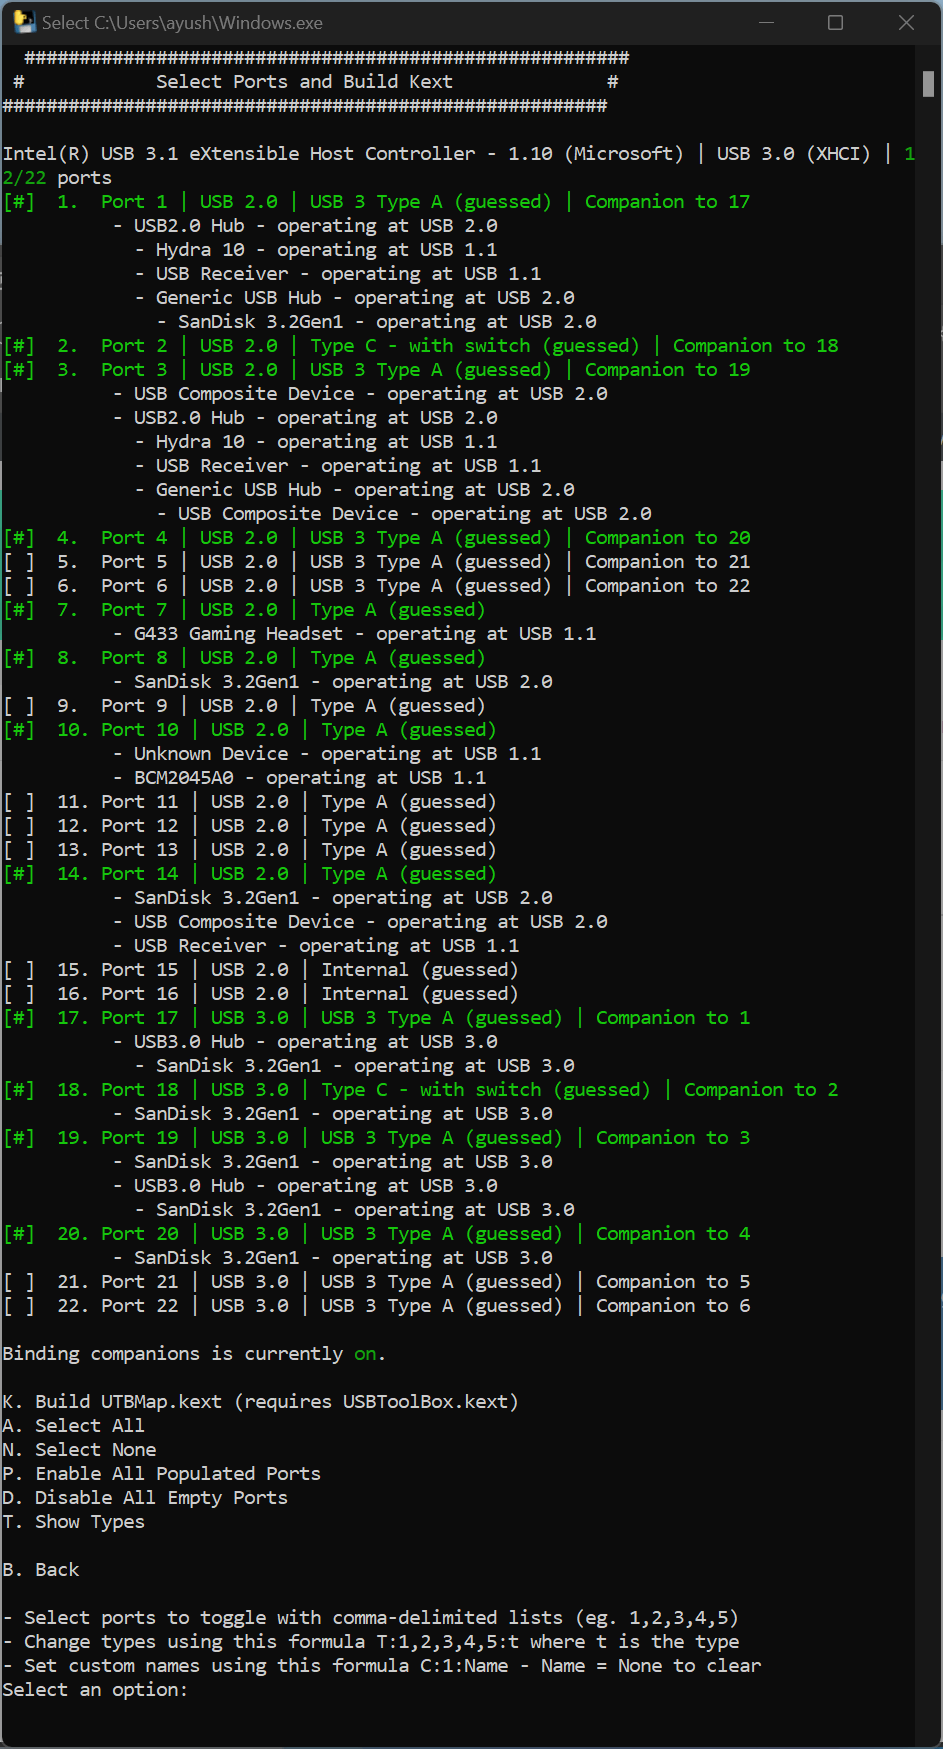
You’ll be greeted by this screen, where you can see which port is companion to which.
- Now, The script has already disabled all the unused ports but just as a precautionary step press ” D ” and then Enter to Disable all Empty Ports. (Assuming you plugged your Flash Drive into Every USB port of your motherboard And cabinet).
*If you forgot any port simply go back by pressing ” B ” and put the Flash Drive into the forgotten USB Port for 10 Seconds then come back to this page)
* In case you go back, there is no need to plug the USB into every port just put it in forgotten ones for 10 seconds.
*make sure the port count on the top right corner is less than or equal to 15 - [IMPORTANT] [Broadcomm / Intel Wifi / BT / Combo Users]:
If you don’t have PCIe WiFi/ BT Combo skip to the next step.
*Make sure you have Wifi and Bluetooth working on Windows else install drivers from SDI Lite.
In our case, We have Broadcomm WiFi / BT Combo DW1830 Installed on our PCIe lane which is connected to the internal USB header. (means connected directly to the motherboard) so we have to manually map it to the Internal Port as macOS expects It.
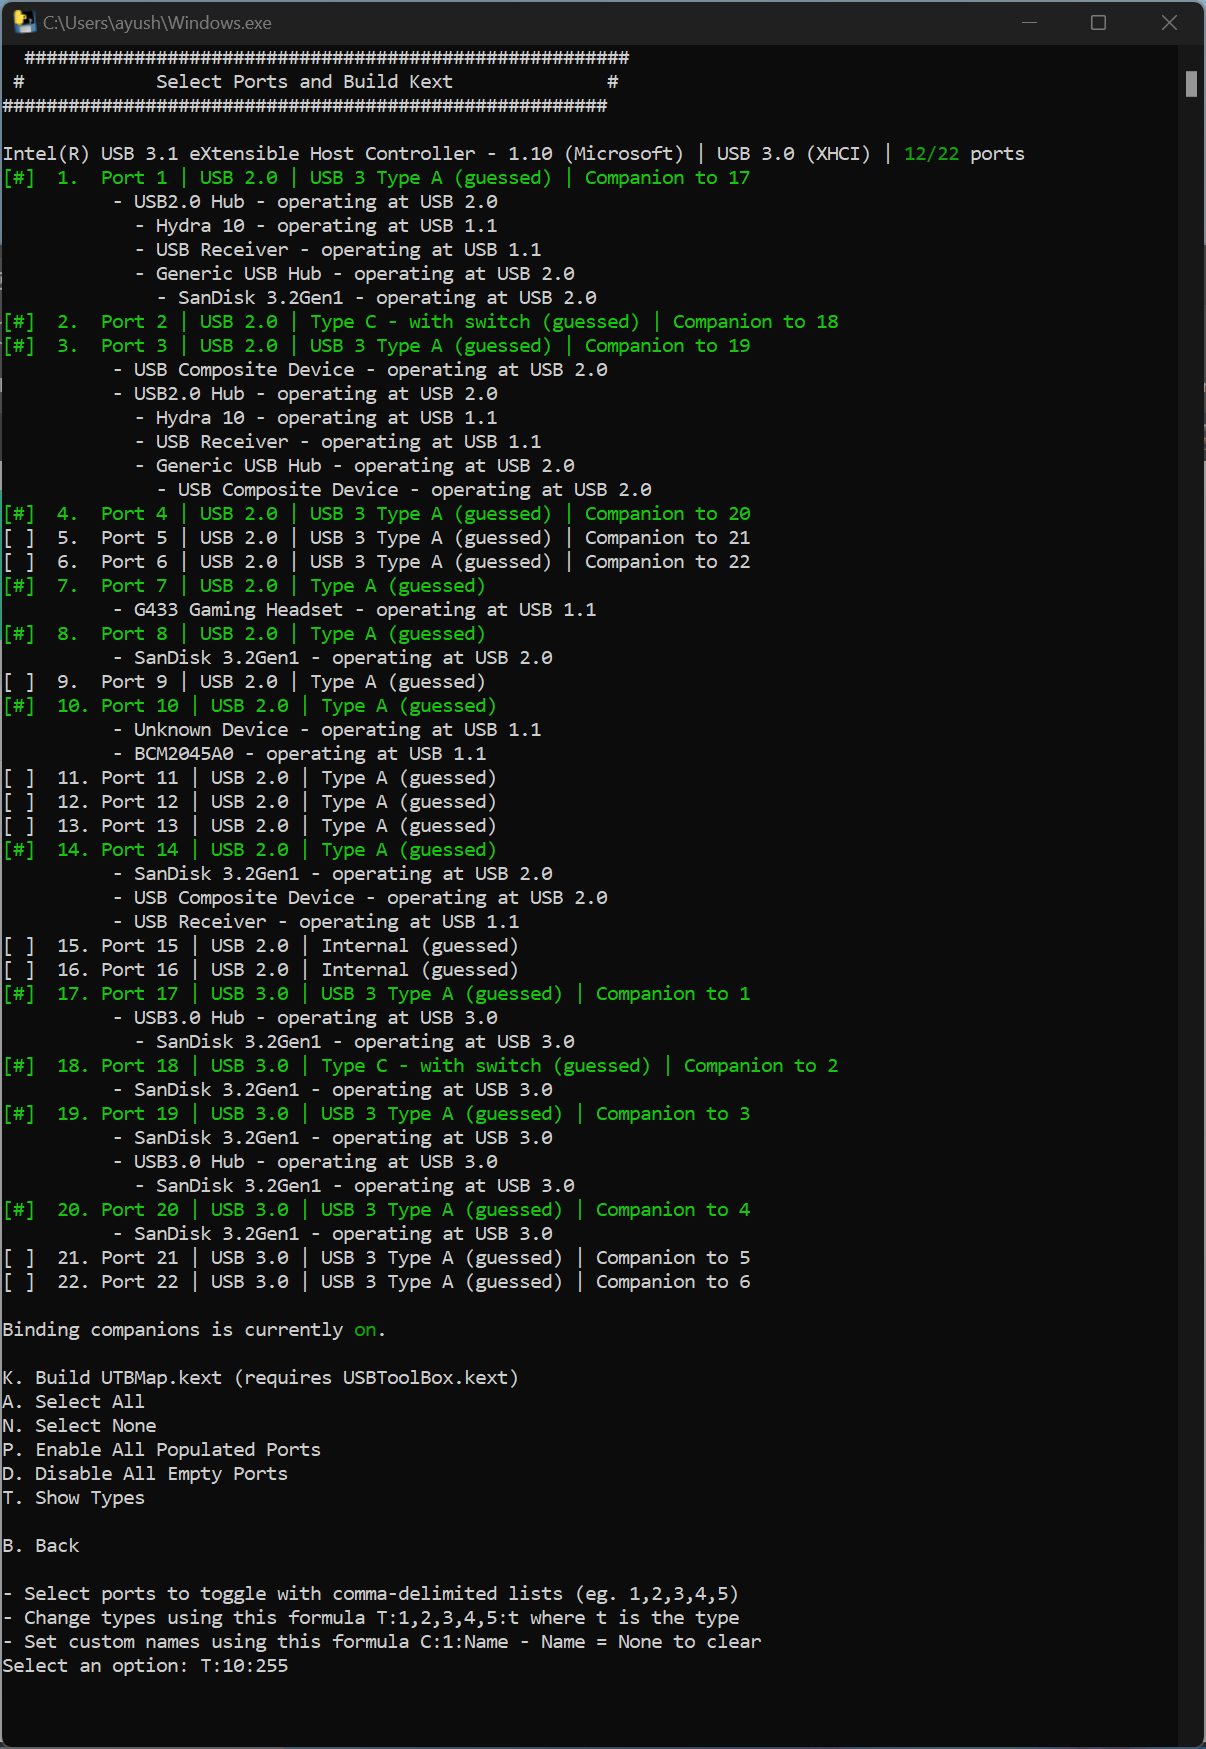
In the Screenshot attached below, you can see BCM2045A0 – operating at USB 1.1 at Port 10, and the Port Type is showing as USB Type A.
So to map it to the Internal Port We have to type,
T:10:255
T means Type
10 is our Port Number
255 is our Port Type (255 means Internal)
then Press Enter.
Now, You’ll see it’ll be listed as Internal.
- If you want to define any port manually after ranting like
my port 17 is showing as USB 3 but it is actually USB Type C
You can do it right here. 🙂
Type: T:17:9 then press Enter.
here, T means Type.
17 is your Port Number
9 is Your Port Type. (in this case USB Type C)
Port Type: USB 2 : 0
Port Type: USB 3 : 3
Port Type: USB C with Switch: 9
Port Type: Internal: 255
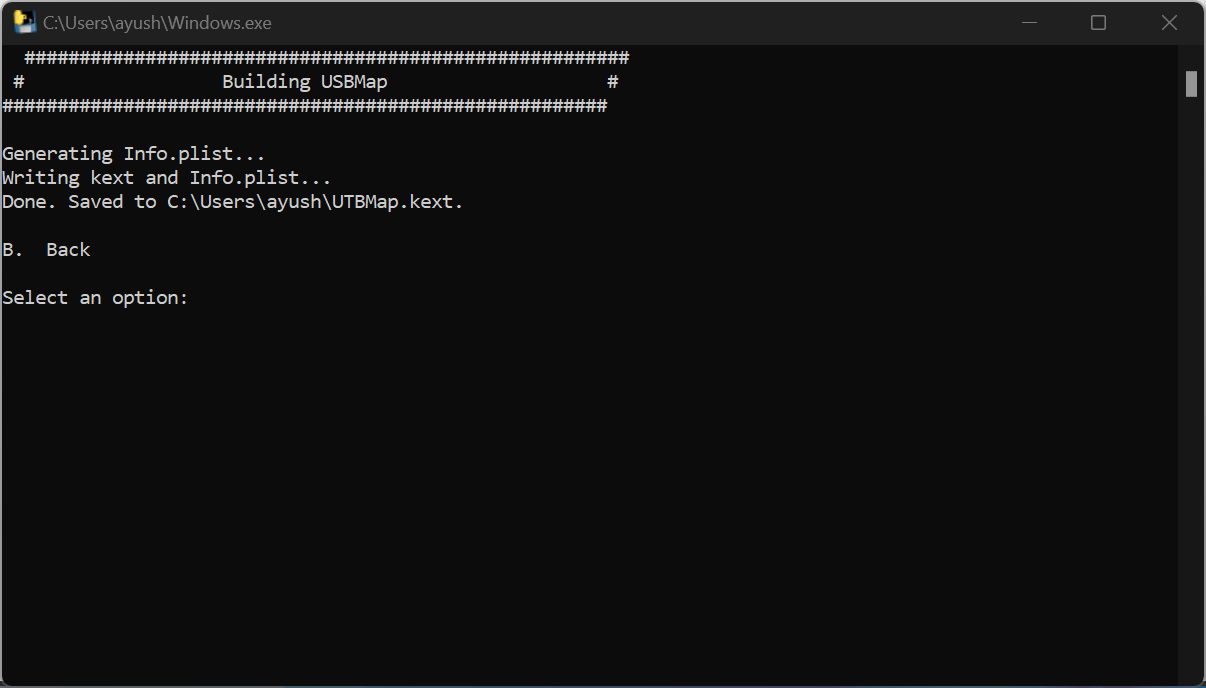
Just Type T : Port number : Port Type (NO SPACES) - Now Build the Kext. Press ” K “ and then “Enter”

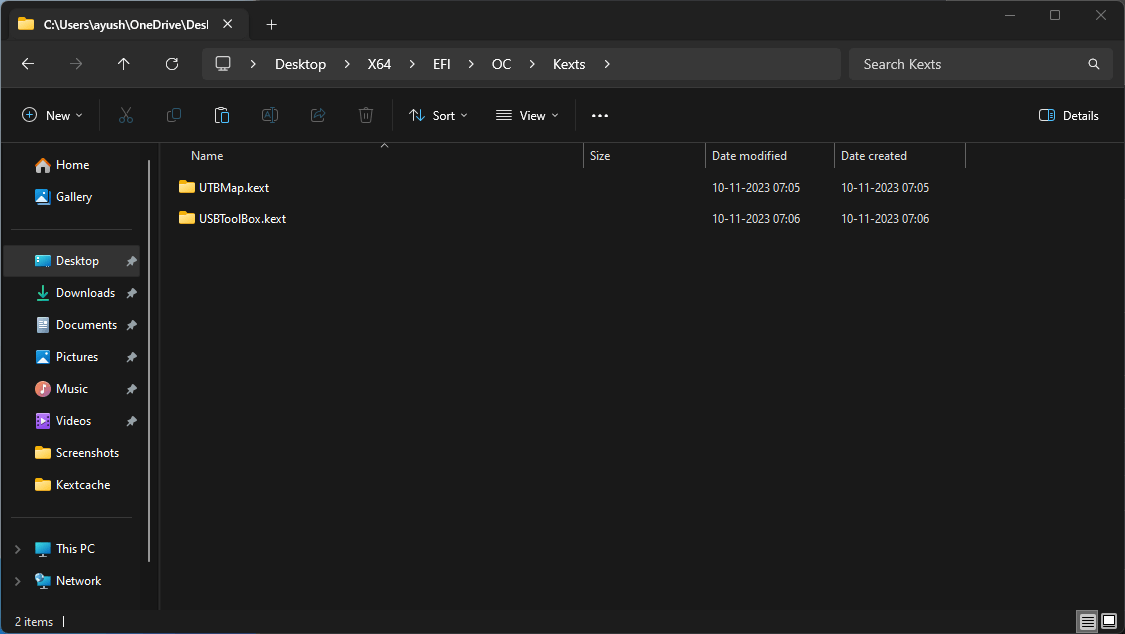
Our All New Personalised Kext called UTBMap.kext is generated and will be placed alongside the Application(the directory where you downloaded that Windows.exe file) - Now, Put the Kext into EFI/OC/Kexts/ along with one more Kext called USBToolBox.kext like this:
*(remove all other USB-related kexts if you have, clean installation no need to worry about this)
- Then Go to ProperTree then, OC Clean Snapshot. and you are done with USB Mapping!

Opencore Configuration guide is coming up next, this was a wildcard entry article in addition to Complete Series. If you have any issues let me know in the comments.
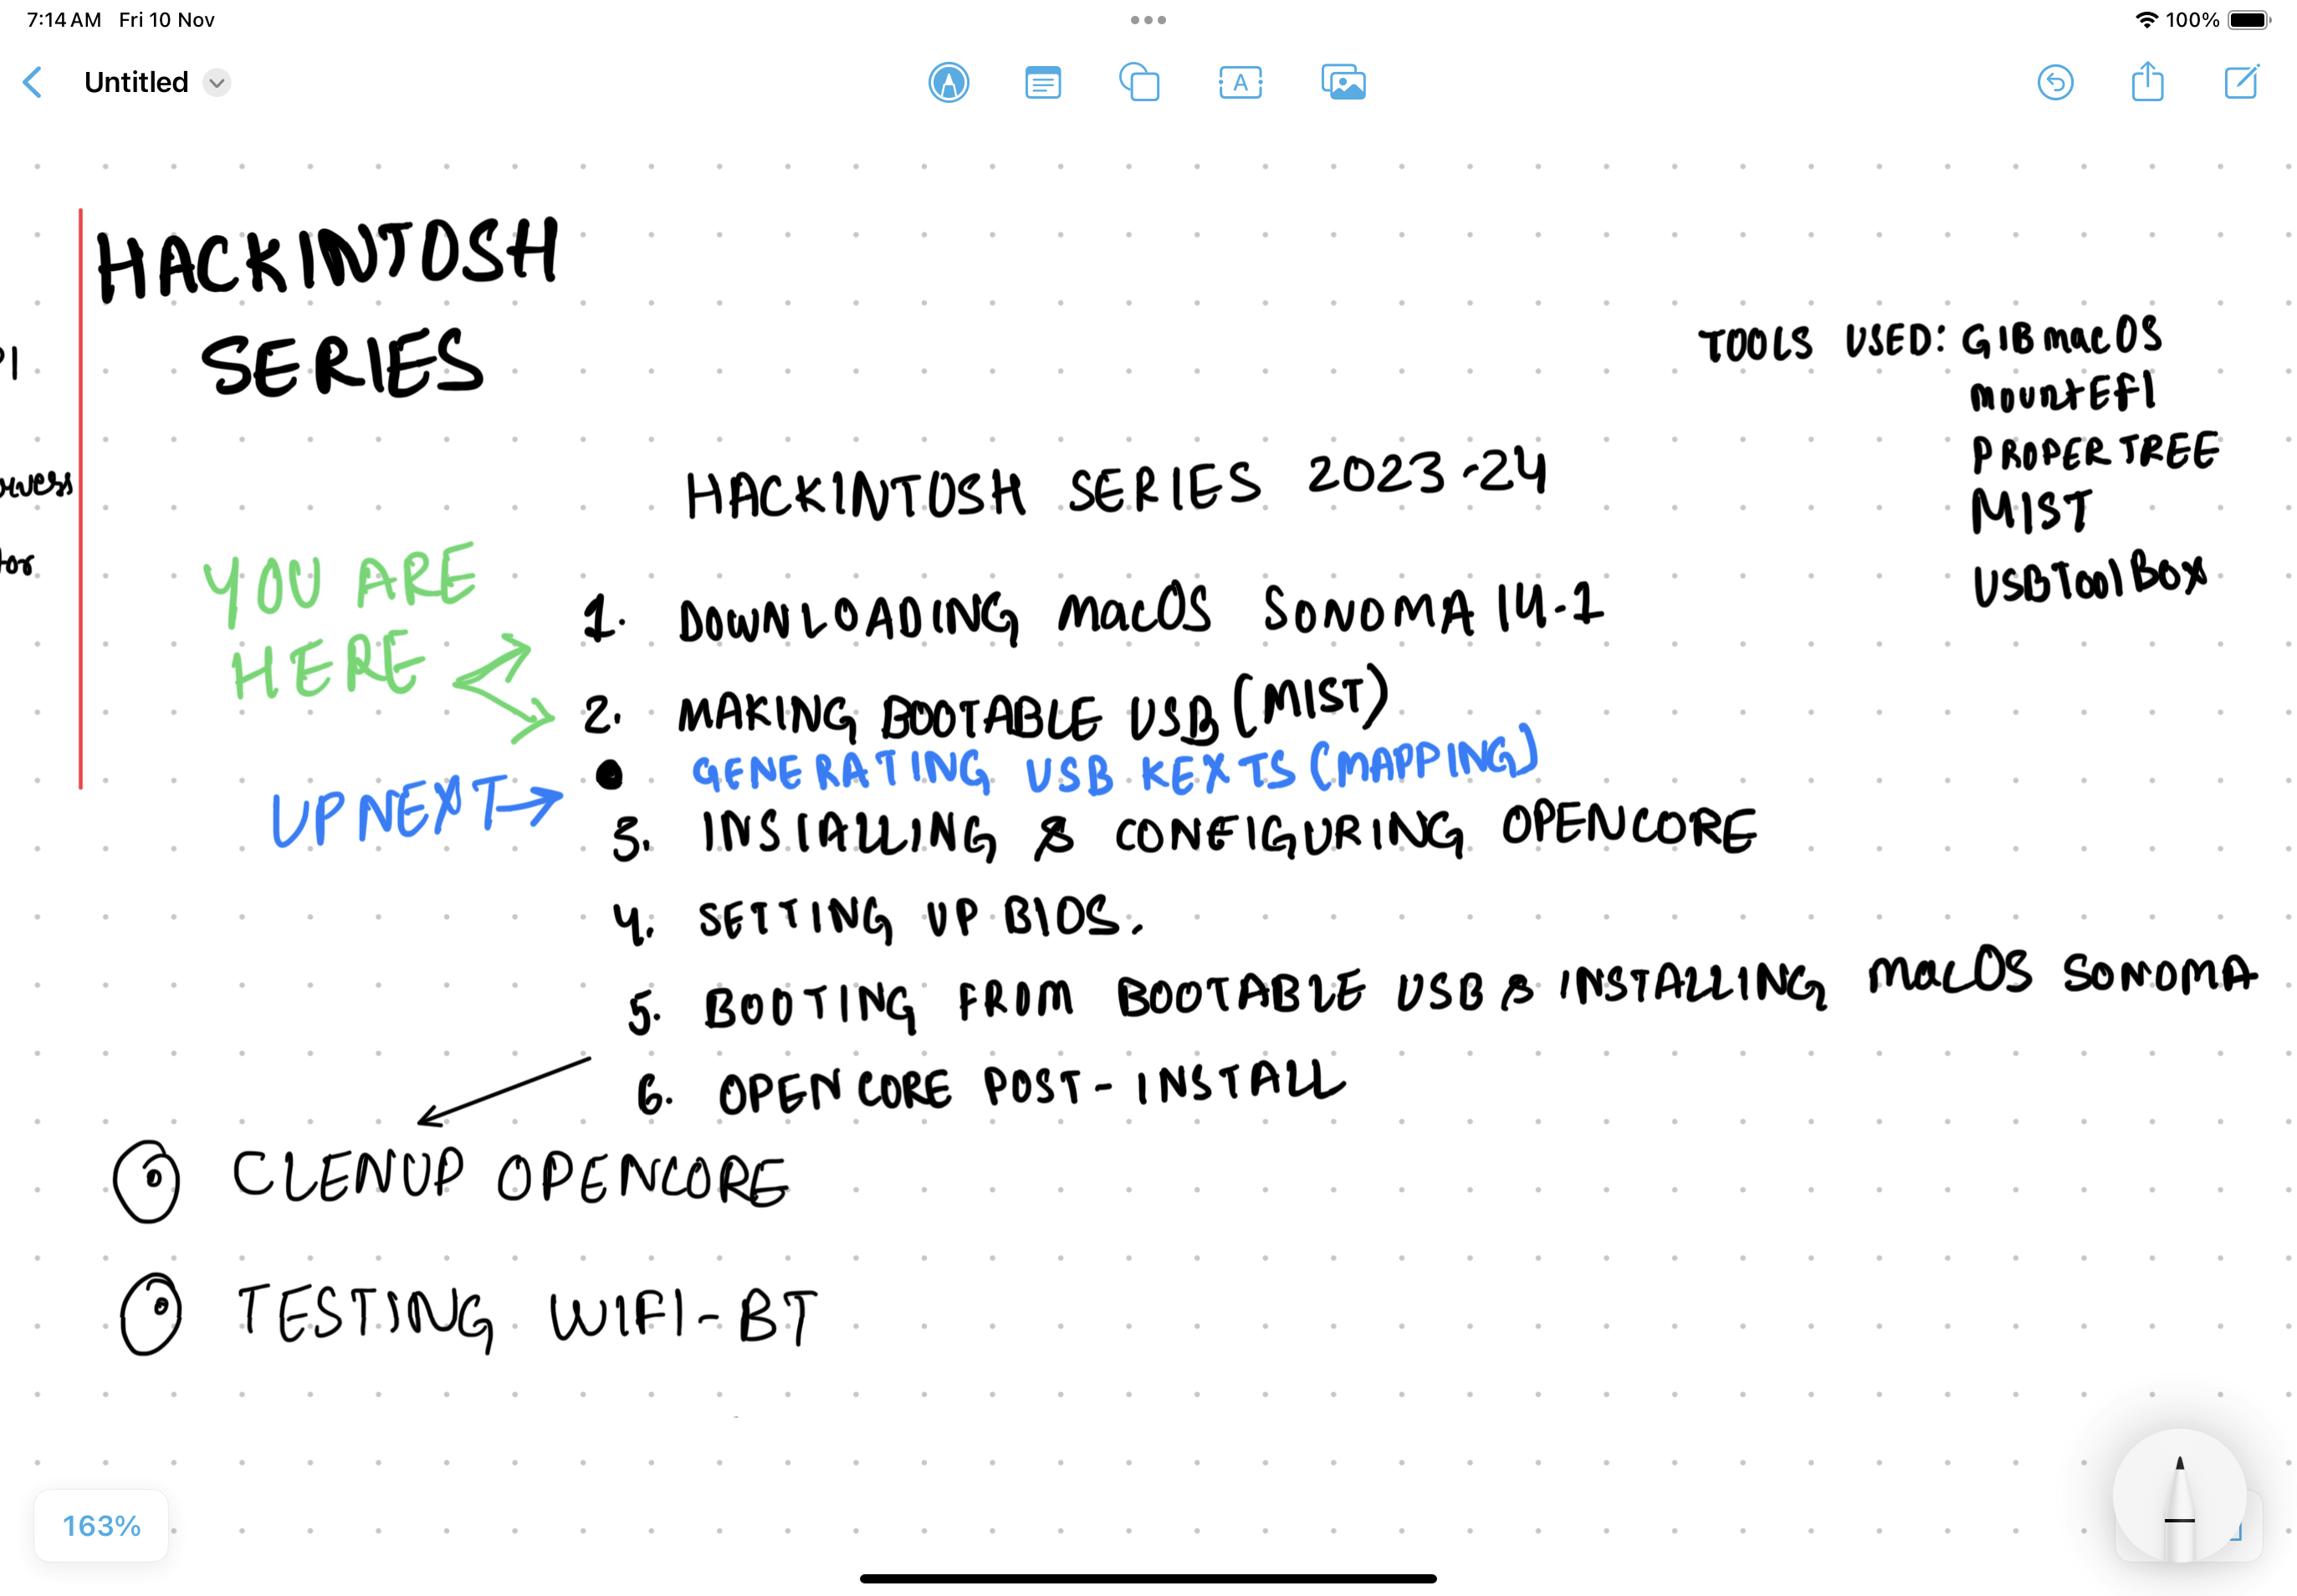
Check out 1st Post of the series for making macOS USB installers if you missed it, you can use either Mist or gibmacOS method.
[GUIDE] Making Bootable macOS Sonoma 14.1 USB Using Mist | Hackintosh | Kextcache
Guide to Create a Bootable macOS USB Drive Using gibmacOS Tool 2023 | Kextcache