Apple recently released macOS Big Sur with UI Overhaul through the whole Operating System and it’s now possible on Linux too thanks to the Active Community of developers. For the sake of this guide we’re using KDE Plasma to cover various module theming, Follow the guide step-by-step for the final result.
Or If you want to make Real macOS Big Sur Hackintosh, Follow
kextcache.com/guide-make-intel-700-hackintosh-build-using-opencore-bootloader
Lets Start from Theming Settings:
System Setting:
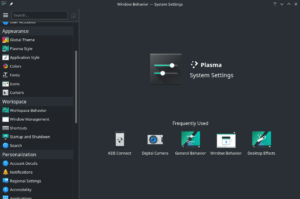
⇒ Workspace Behavior –
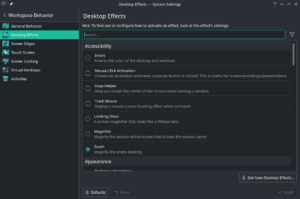
- Desktop Effects –
- Search for “Blur” – Noice strength (min) – Click OK
- Search for “Wobbly Windows” – Enable it – Disable “Wobble when resizing”- Increase wobbliness – Click OK
- Search for “Magic Lamp” – Enable it – Animation duration to 200 milliseconds – Click OK
- Click Apply
- Touch Screen – “No action” to whatever is active – Apply
⇒ Window Management –
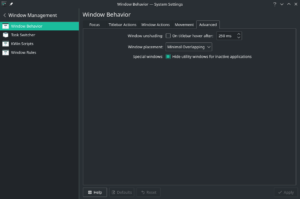
- Window Behavior – Advanced – Window placement – Centered – Apply
- Task Switcher – Large Icons – Apply
- KWin scripts – Get new Scripts – Search for “Force Blur” – Install it – Enable it – Apply
System Theme:
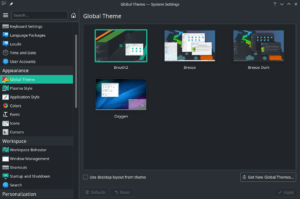
⇒ Global Theme – Get new theme – Search for “whitesur” & “whitesur Dark” – install them – select one of them – Apply
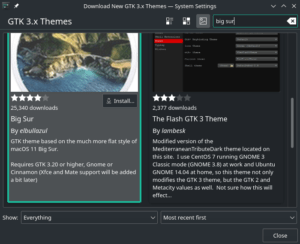
⇒ Application Style – Configure GNOME/GTK Application Style – Download New GNOME/GTK Application Style – Search for “BigSur” – Install – IN GTK2 & GTK3 select macOS… – Apply
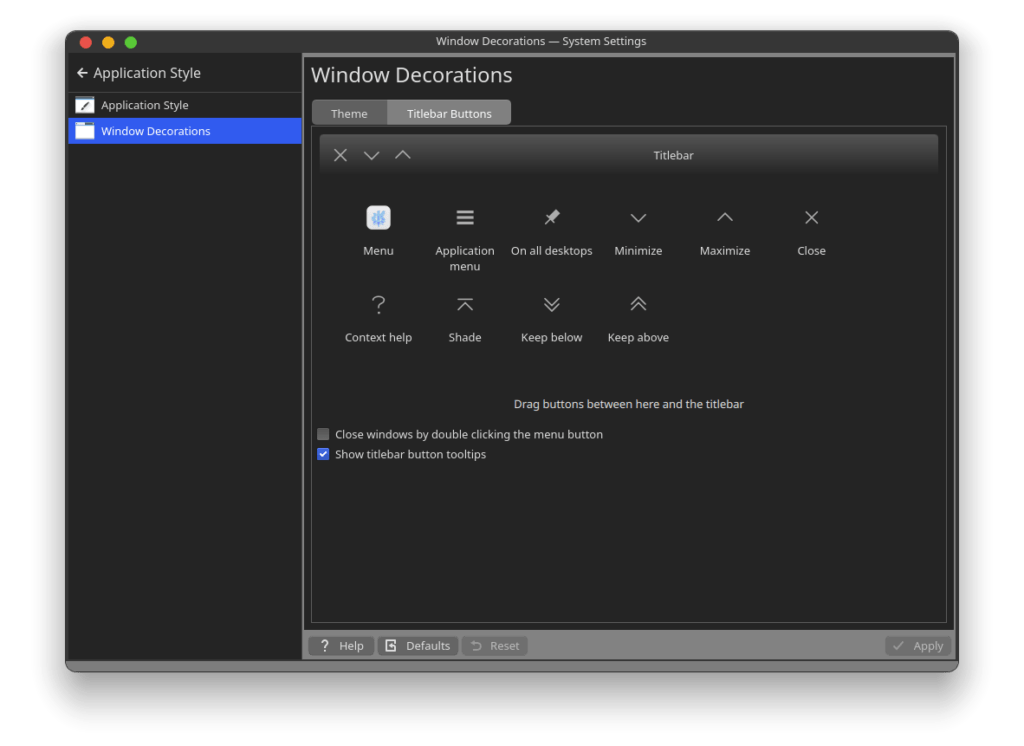
- Window Decoration – Titlebar Buttons – Remove all the buttons from left side & the ‘?’ – Shift rest of the buttons – Close button in the left corner then minimize then maximize – Apply

Color Scheme, Icon Theme, and Cursors:
⇒ Icons – Get new Icons… – Search for “Mkos-Big-Sur” – install it – Go back and select it – Apply
⇒ Cursors – Get new Cursors… – Search for “McMojave cursors – install it – Go back and select it – Apply
⇒ Startup and shutdown – Splash Screen – Check if “WhiteSur / WhiteSur-dark is selected – if not select and Apply
Installing and Configuring Kvantum Manager:
Go to your Package Manager – Search “Kvantum Manager” – Install – Apply 
OR
Manjaro/Arch :
sudo pacman S kvantum-qt5

Ubuntu/Debian :
sudo add-apt-repository ppa:papirus/papirus
sudo apt-get update
sudo apt install qt5-style-kvantum

OpenSUSE:
sudo zypper in kvantum

Fedora :
sudo dnf install kvantum
⇒ Download this Theme for Kvantum –
- Kvantum Theme Big Sur :
https://www.pling.com/p/1398841/
- Extract the file
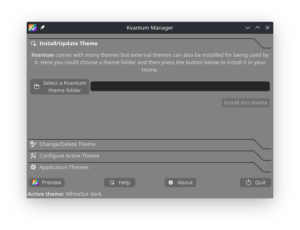
- Open Kvantum Manager – Select a Kvantum theme folder – Select your file – Install this file
- Change/Delete Theme – In ‘Select a theme’ locate your theme “WhiteSur” – Use this theme
- Configure Active Theme – Compositing & General Look
- Reduce Window opacity by ‘5%’
- Reduce menu opacity by ‘15%’
- You can adjust according to your style if you want, this is just me.
- Save
- Quit Kvantum
- Go to System Settings – Application Style – Select Kvantum – Apply
Installing Plasma Widgets:
On Desktop – Right Click – Add Widgets… – Download New Plasma Widgets – Search and Install –
- Application Title
- Latte Side Bar
- Latte Spacer
- Latte Separator
- Better inline Clock
- Launchpad Plasma Menu
- Inline Battery
- Kpple Menu
- Media Player Control Plus,
- Ditto Menu
Installing and Configuring Latte-Dock:
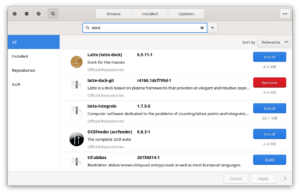
Go to your Package Manager – Search “Latte” – Install (The git one) – Apply
Latte-Dock Layout Mac big sur :
https://www.pling.com/p/1399346
Download the files marked in the image:-
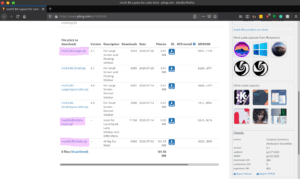
- Extract the files
- open Latte
- Restart
- Remove the Existing panel
- Right click on Latte – Layouts – Manage Layouts… – Import… – Select “Large layout” file – Apply
- Select the added file (“Large layout” one) – Switch
- Close
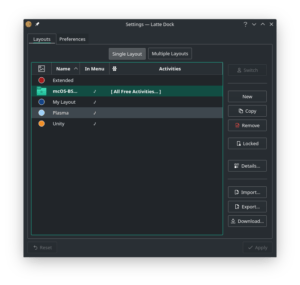
- Right click on the latte panel as shown in the image:-

- Click on Icon – Choose… – Other icons: – Browse – go to the Extracted file “macOS-BS-Extra-Icons” – “sidebar” – open – Apply
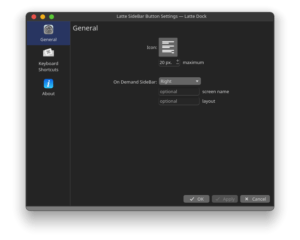
- Right click on latte panel as shown in the image :-

- Click on Icon – Choose… – Other icons: – Browse – go to the Extracted file “macOS-BS-Extra-Icons” – “ditoMenu” – open – Apply
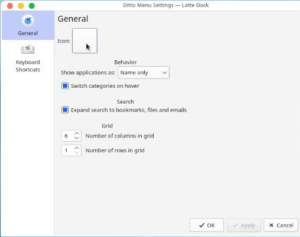
- Right click on latte dock – Add Widgets… – Search for “launchpad” – drag it on to dock
- Right click – Configure – Click on Icon – Choose… – Other icons: – Browse – go to the Extracted file “macOS-BS-Extra-Icons” – “launchpad” – open – Apply
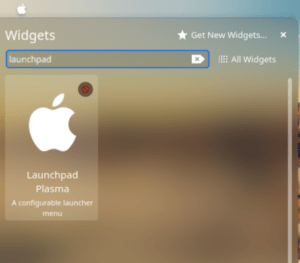
Configuring Lock screen:
⇒ System Setting – Startup and shutdown – Login Screen – Get new Login Screens – “WhiteSur SDDM” – install – Select it – Apply
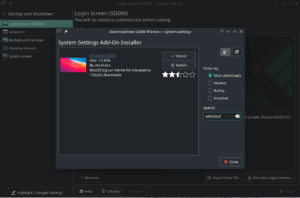
Addition Settings:
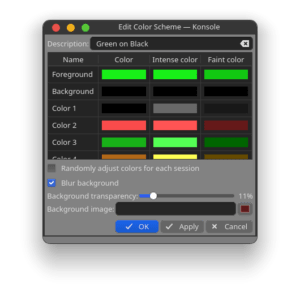
- Open Konsole – Settings – Edit Current profile – Appearance – Select “green on black” – edit – Blur background – Apply
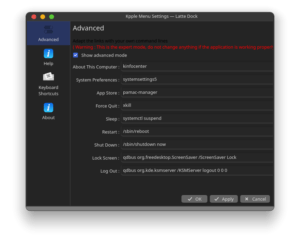
- Right click on the top left corner – Configure kpple menu – Check Advanced mode

- In App Store – remove everything and type “pamac-manager” – Apply – Ok
That’s it! Enjoy Your macOS Big Linux.
![]()




thanks man this is work