KDE Plasma, an acronym for “K Desktop Environment Plasma,” is a freely available and open-source desktop environment designed for Unix-like operating systems. The term “Plasma” was introduced during the fourth series of KDE releases (KDE 4) and has been consistently employed for subsequent versions. In this blog will be using Endeavour OS, to upgrade KDE plasma a desktop environment.
If you don’t have any prior knowledge about customization in Arch Linux or using the Console, kernel commands, upgrades you may read the previously published blogs :
: Prerequisites :
1 : Make sure you have Endeavour OS installed on your system. If not, refer to the official website for assistance.( https://endeavouros.com/ )
2 : Basic familiarity with the Linux command line is recommended. Understanding commands such as sudo, pacman, and navigating the file system will be beneficial.
3 : Ensure that your system has a stable internet connection. This is crucial for updating package repositories and downloading the latest software packages during the upgrade.
4 : The ability to run commands with administrative privileges (sudo) is necessary. Ensure that your user account has the required permissions.
5 : Before performing a full system upgrade, it’s advisable to back up important data. While the upgrade process is generally smooth, having a backup provides a safety net in case of unexpected issues.
6 : This guide is specifically tailored for users running the KDE Plasma desktop environment. Ensure that your Endeavour OS installation includes KDE Plasma, or install it using the package manager if you are using a different desktop environment.
7 : The full system upgrade and optimization process may take some time, depending on the speed of your internet connection and the number of packages that need updating. Allocate sufficient time to complete the steps without rushing.
8 : 20-30 GB free space should be available for sustainable installation.
9 : RAM, a minimum of 4 GB is recommended for a smoother experience.
10 : Multi-Core processor or Dual-Core processor recommended.
STEP 1 : Upgrade System Packages
Open a terminal and execute the following command to synchronize your package repositories.
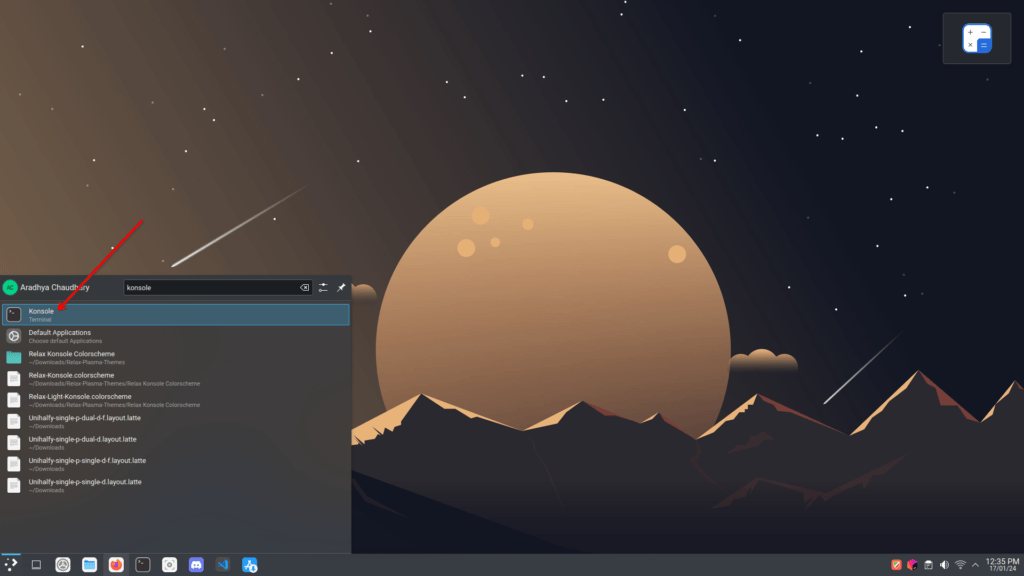
After you have opened the konsole, enter the following command. sudo pacman -Syu or sudo pacman -Sy
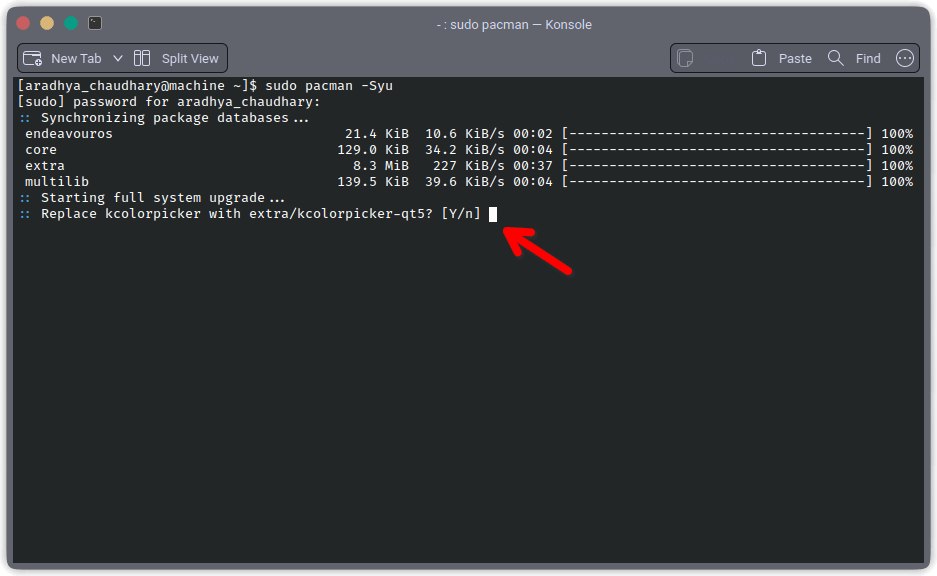
Enter “Y” wherever it asks.
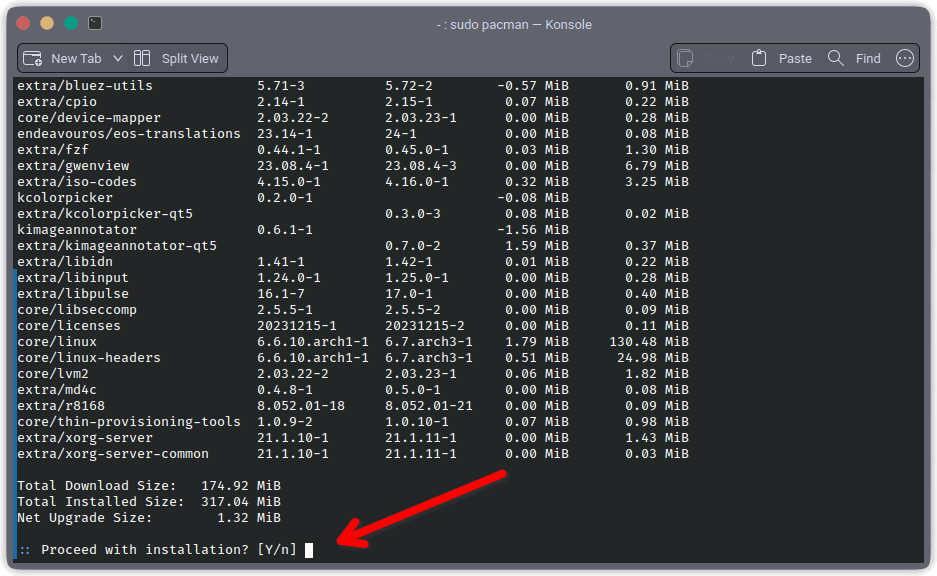
Enter “Y” again
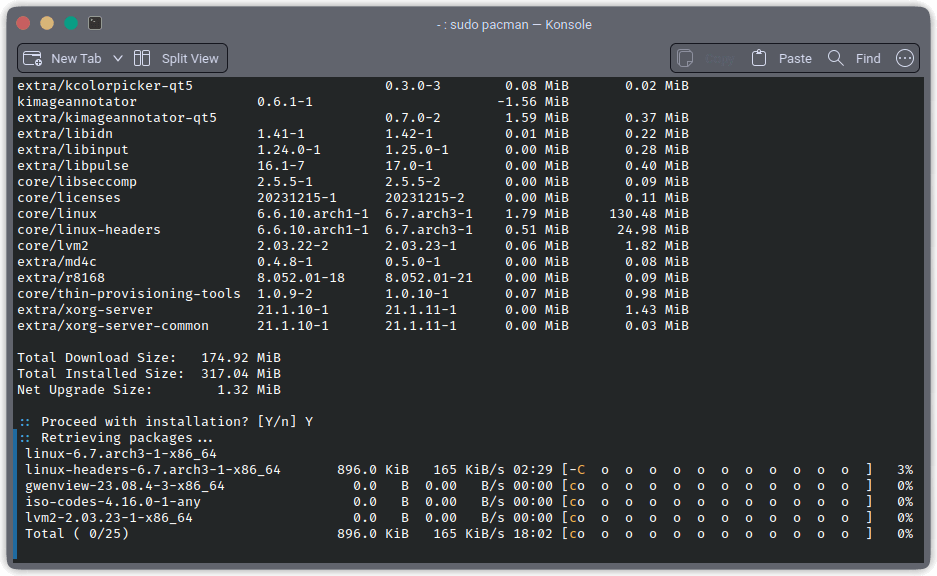
System upgrade will start and it might take time according to your internet speed.
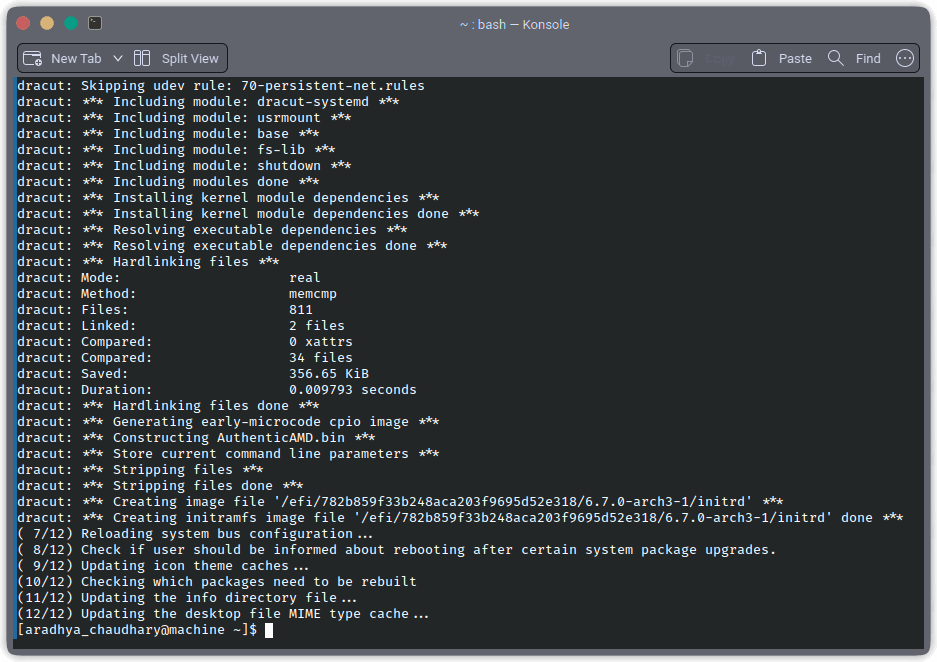
Once you have completed the update, REBOOT your system.

You will get a notification to reboot as shown in above image. Just reboot your system.
STEP 2 : Cleaning up the Cache
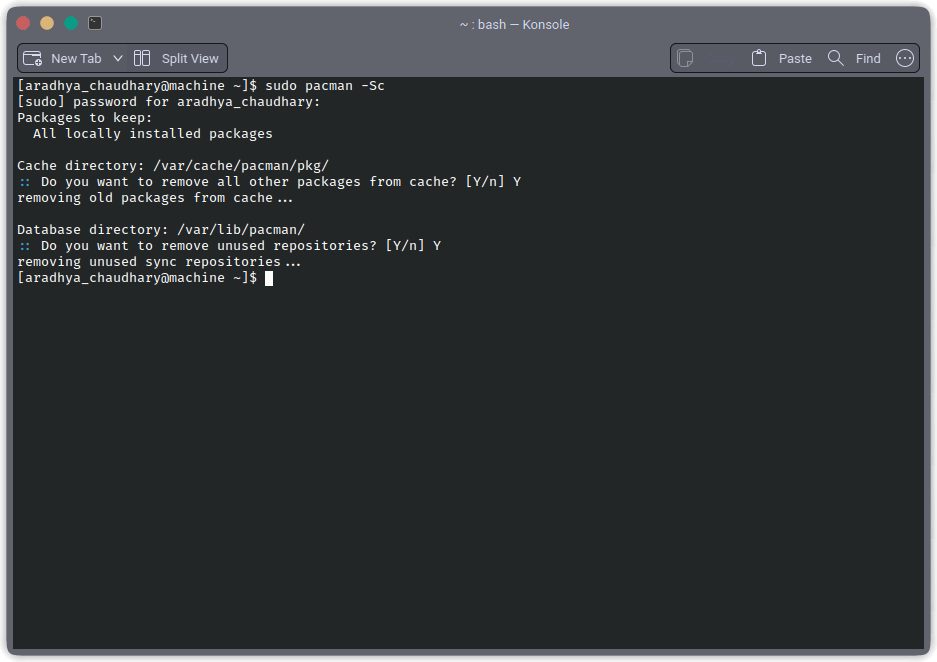
After the upgrade, clean up the package cache to free up disk space. Select the packages that you want to remove manually or use the console command to remove them automatically.
Just enter the following konsole command – sudo pacman -Sc
STEP 3 : Installing KDE Plasma System Settings
Ensure you have the KDE System Settings installed. If not, install it with sudo pacman -S systemsettings
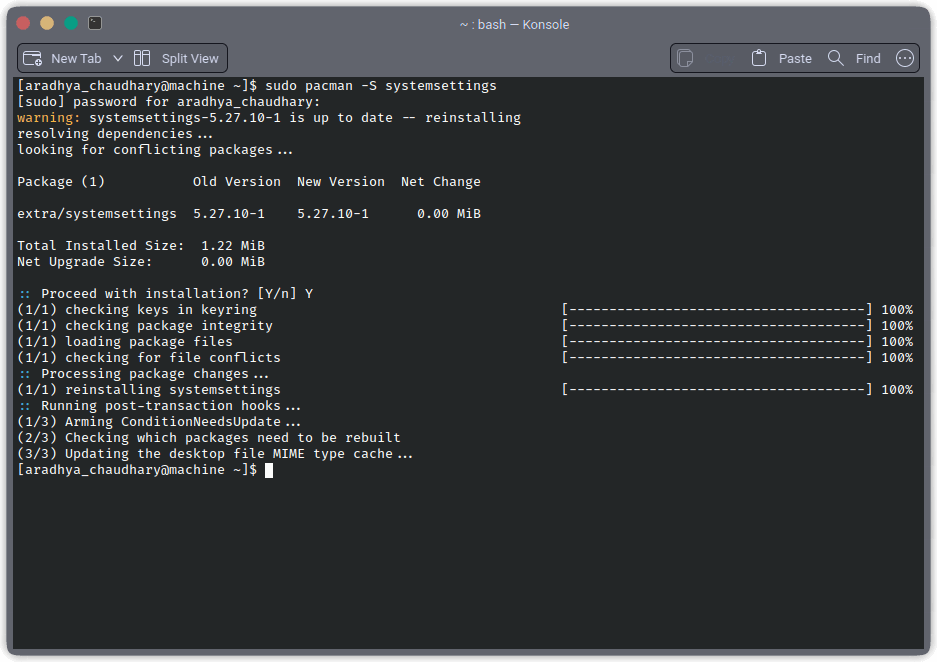
In my case I was already having the default system settings, so it said to reinstall it. Your case might be different.
Adjusting/Upgrade Desktop Effects
Open system settings from application launcher
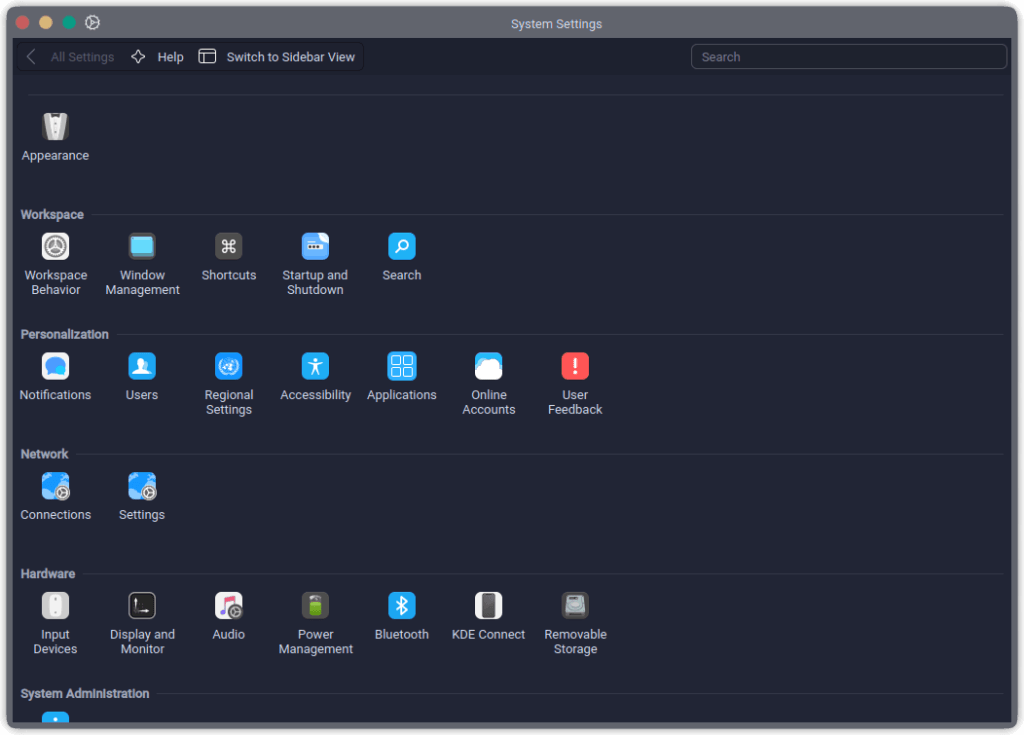
Head to the “APPEARANCE” tab and click it.
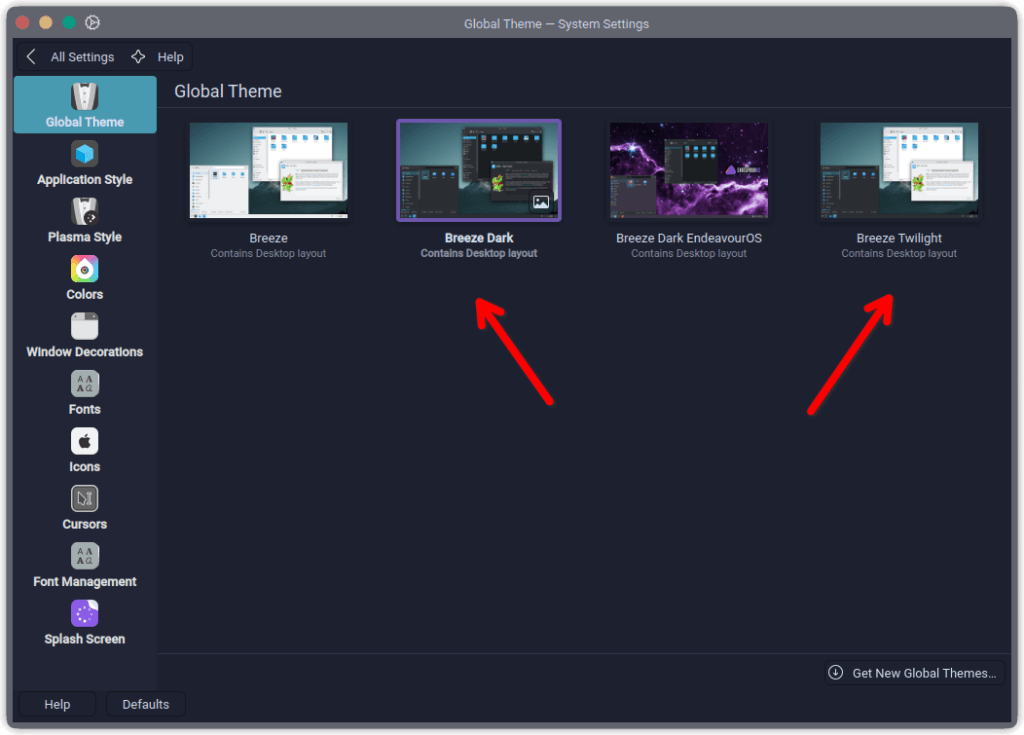
Choose the “Dark” or “Light” theme according to your preference.
Head towards the “Application Style”
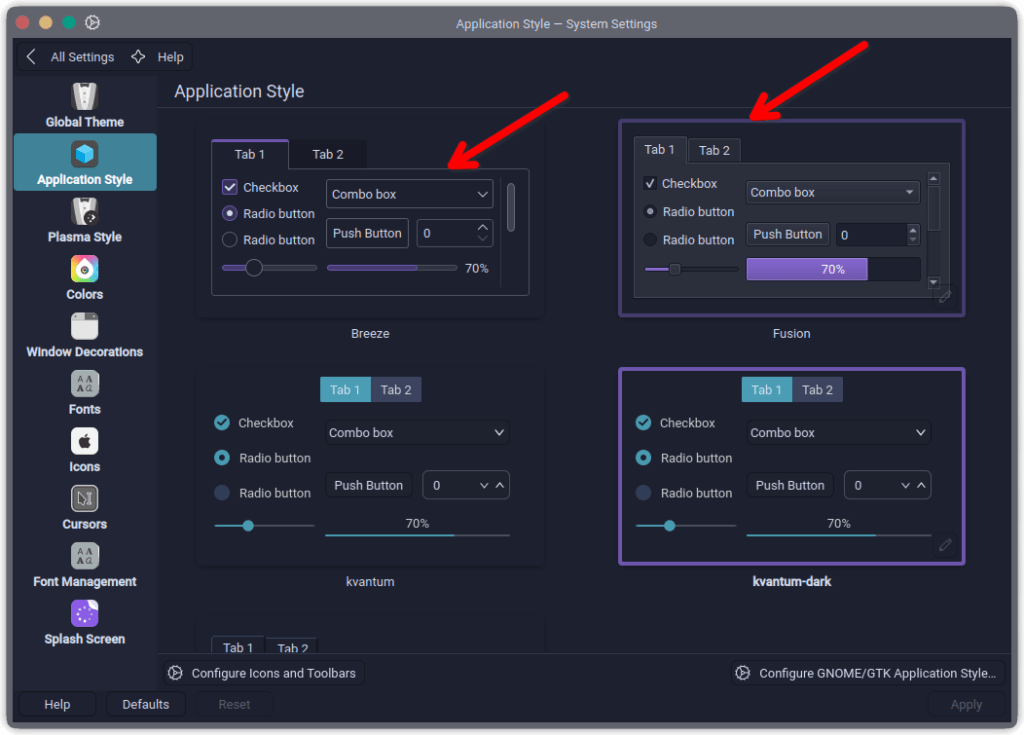
Choose “Breeze” or “Fusion” theme according to your preference.
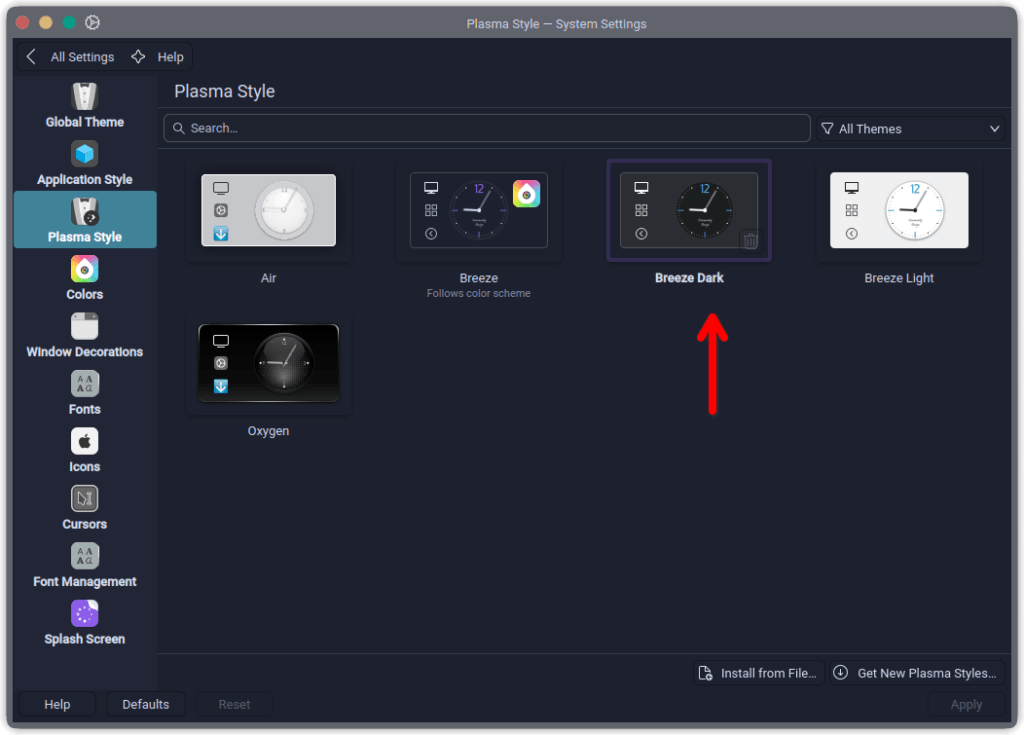
Head towards plasma style now and select “Breeze Dark”
Now go to the colors tab and click it.
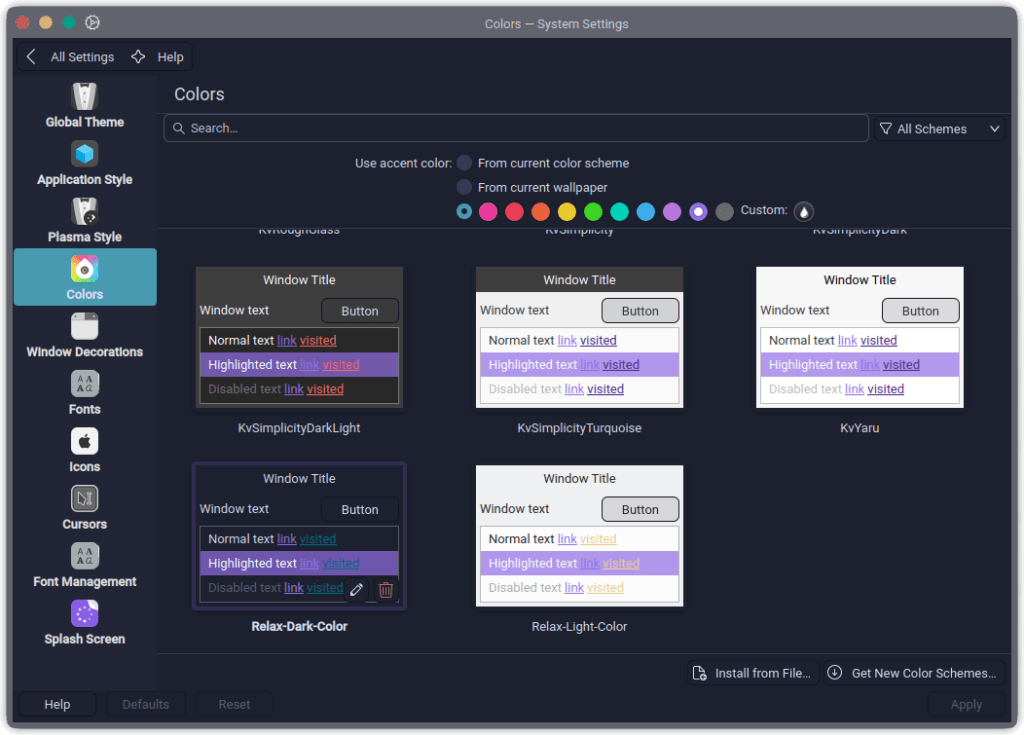
You can choose any of the color theme you want or you can browse more color themes available down below.
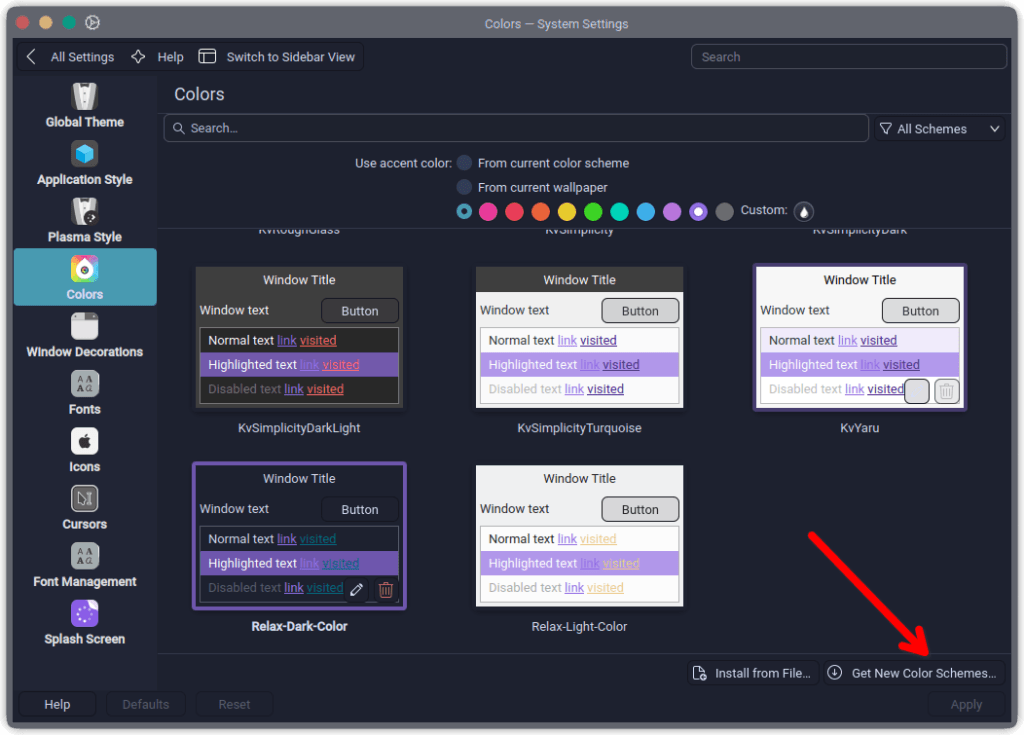
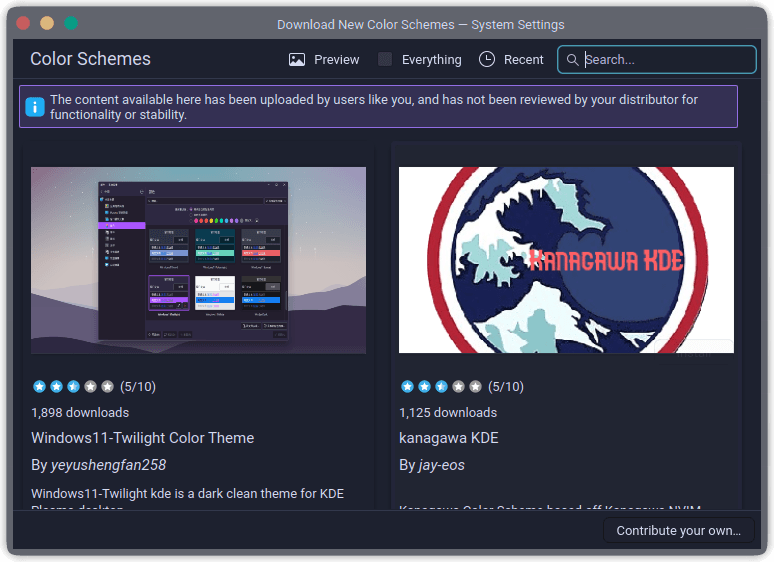
Click the ” Get more color themes” option and now you can browse and download according to your own taste.
Head towards the “windows decoration” tab.
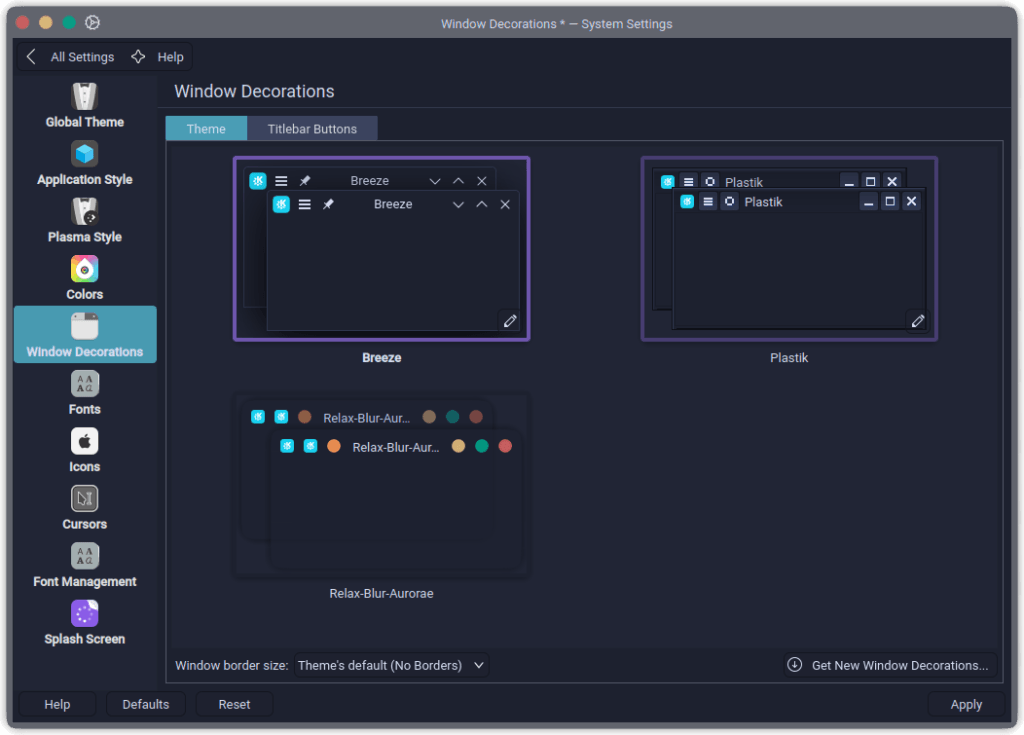
Or you can get more windows decorations from “Get new windows decorations” given below.
Head to the fonts section

You may select the font suitable to your environment. In my case I have selected “Roboto”
Head to icons tab and select the appropriate icon style you like.
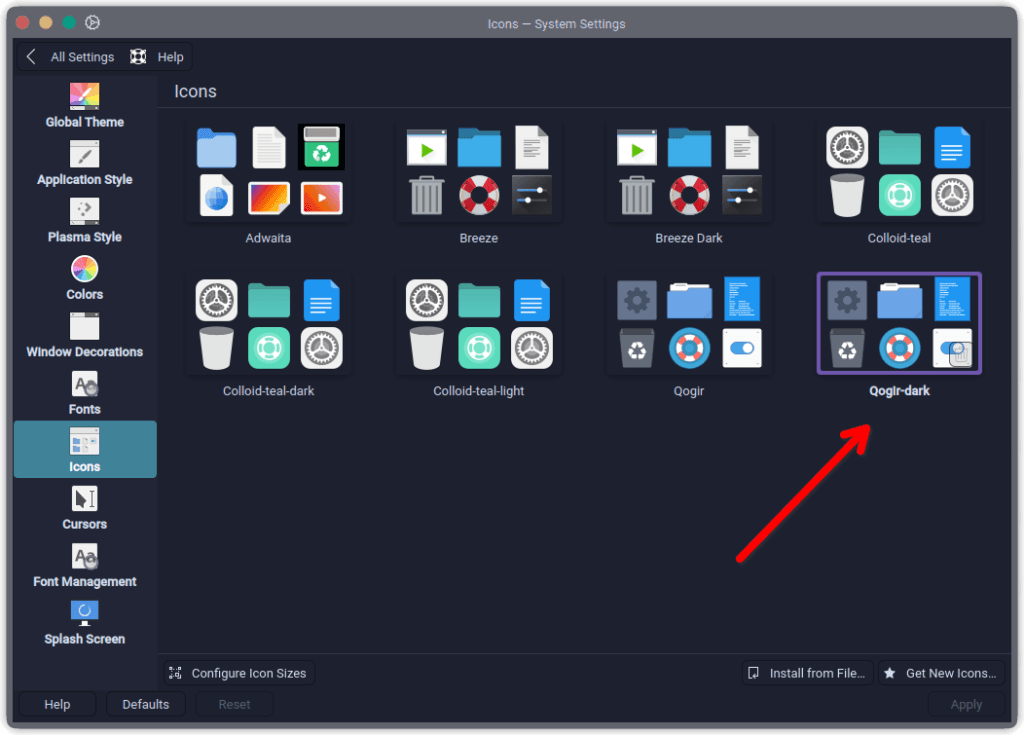
Head to cursors now and select ” Breeze ” cursors.
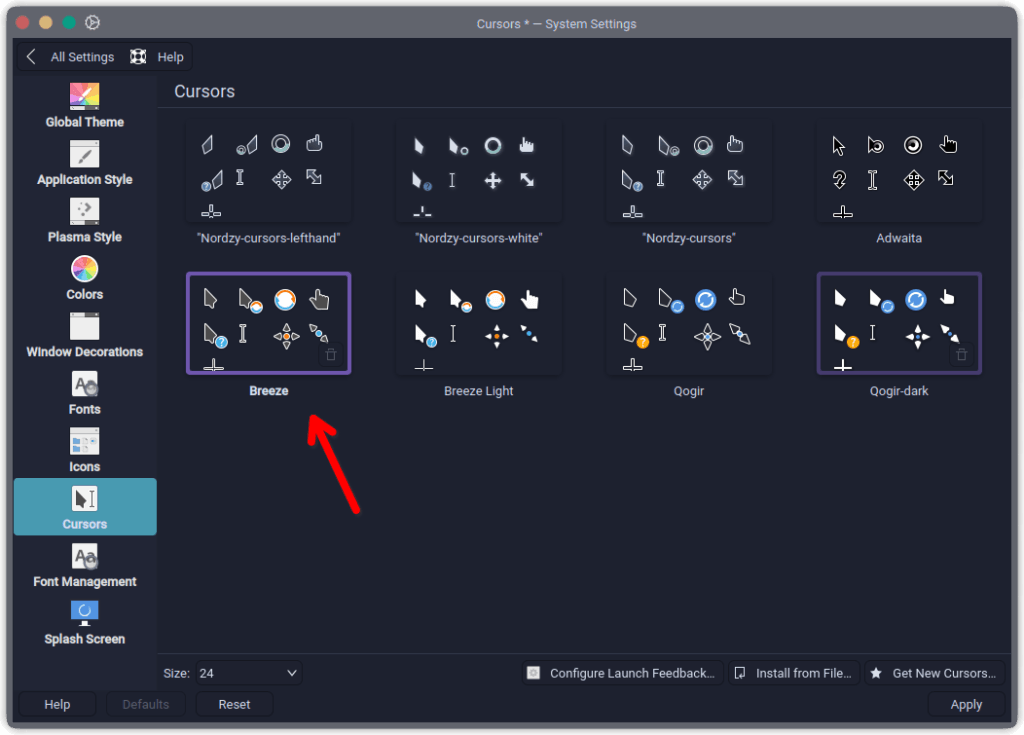
And with this last theming setting we have customized our KDE Plasma.
STEP 4 : Adding a Application Installer GUI
Open your console and update system packages. Use command : sudo pacman -Syyu
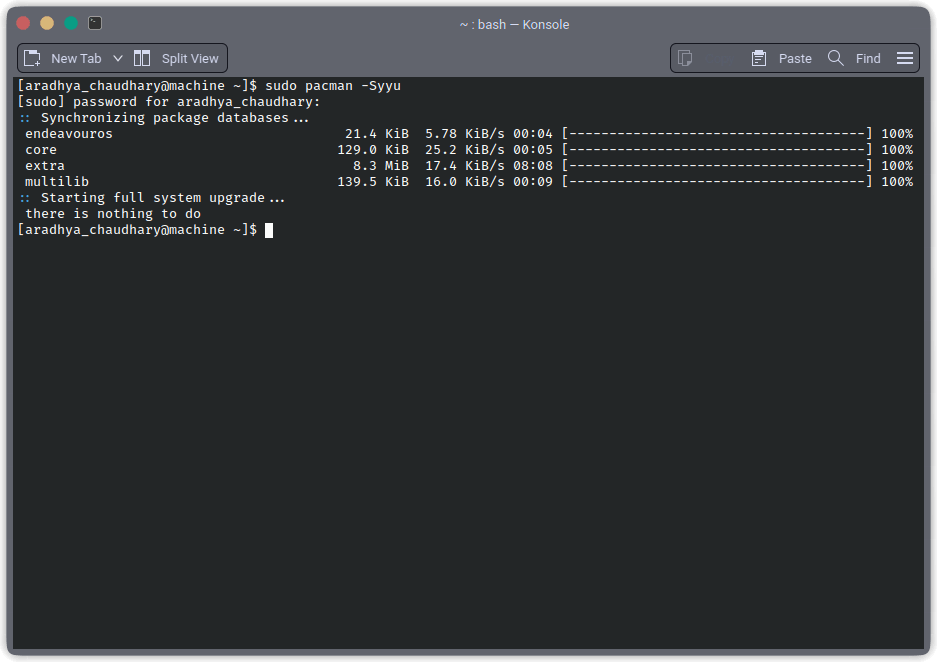
Install “yay” package manger to install from AUR helper repositories of KDE Plasma.
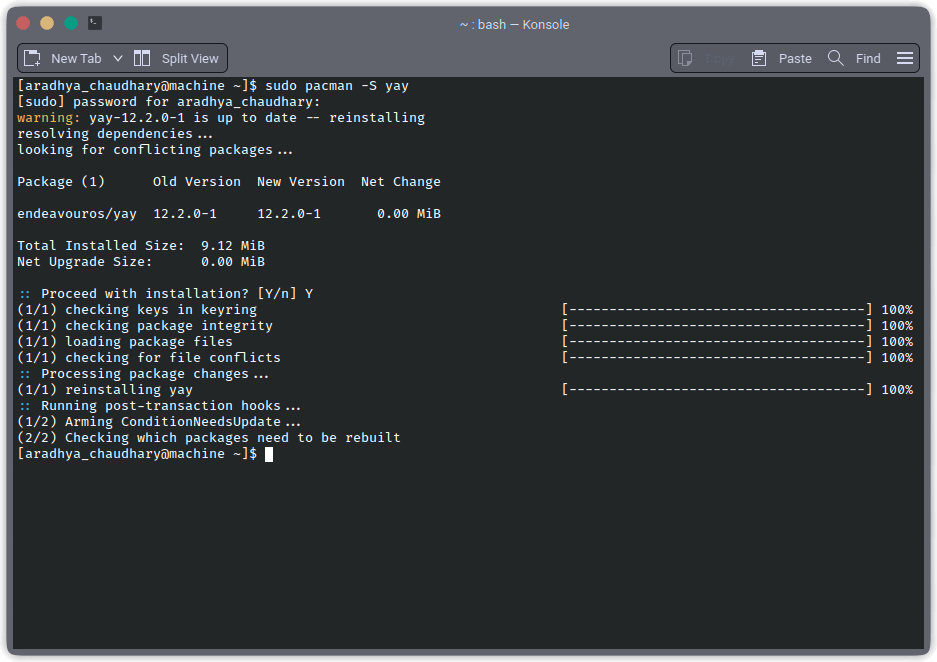
Now once you have installed “yay” just type the following command :
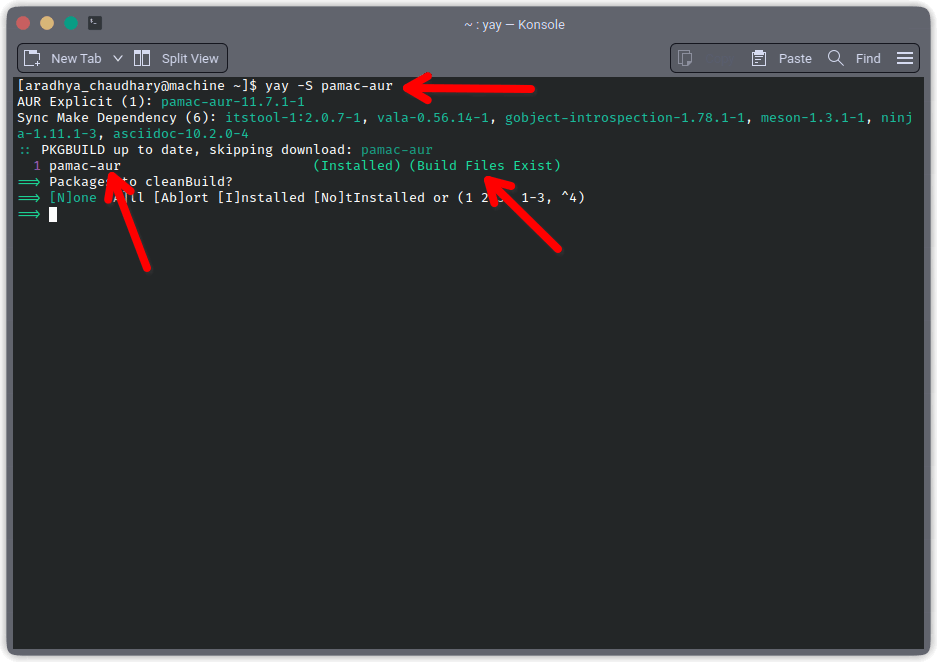
In my case I have already the package manager installed. But you just need to enter this command : yay -S pamac-aur
After the installation pamac-aur will start looking like this :
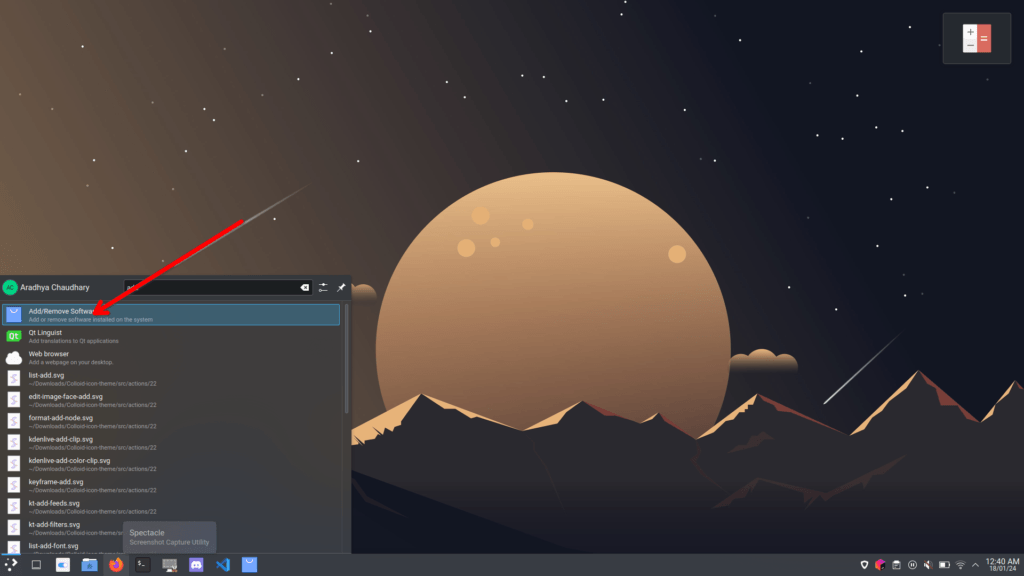
By doing this we will be having the access to Add/ Remove Software GUI.
STEP 5 : Upgrade Resource-Hungry Processes
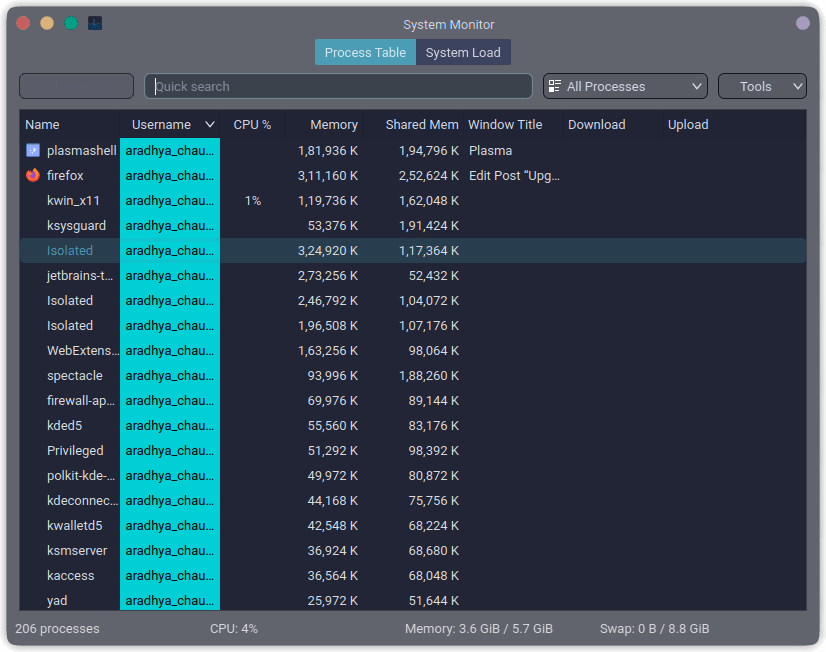
System Monitor: Use the System Monitor widget to identify resource-intensive processes.
Open your Add/Remove software that we just installed in Step 4.
Go to search option and type : “ksysguard”
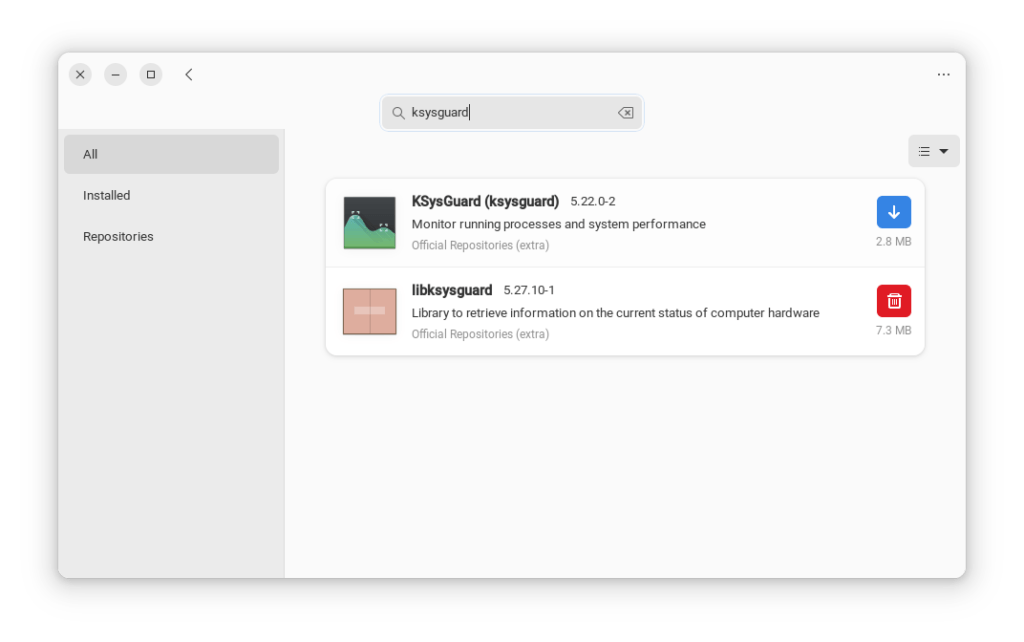
Click on download button in blue color and install it.
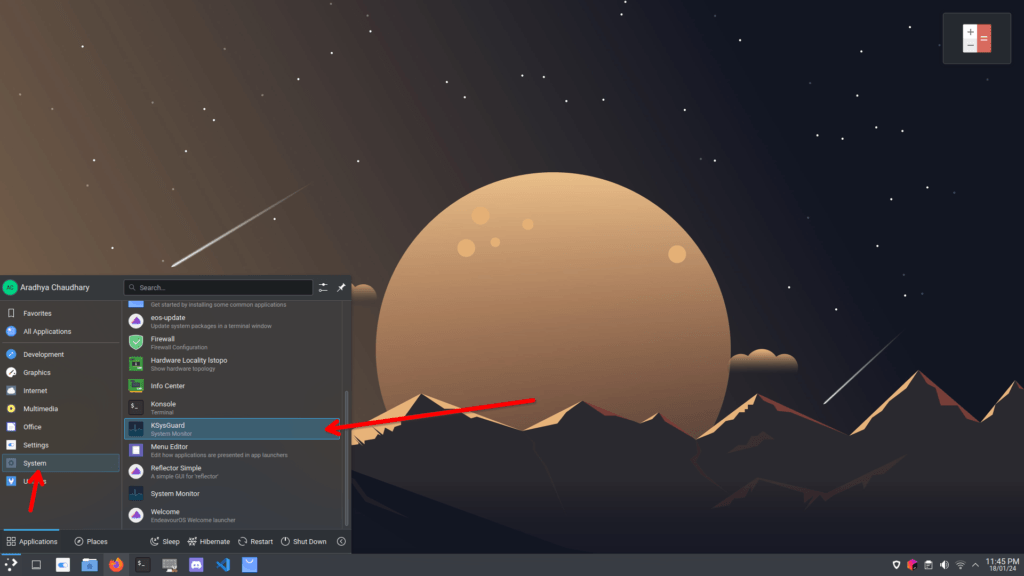
Launch the application GUI and configure your tasks resources in a systematic manner.
CONCLUSION
In this comprehensive exploration of enhancing your EndeavourOS KDE Plasma setup, we’ve navigated through the realms of customization, productivity improvement, and system maintenance. Equipped with a wealth of console commands, you are now empowered to reshape your desktop environment into a finely tuned tool designed specifically for your distinctive workflow.


